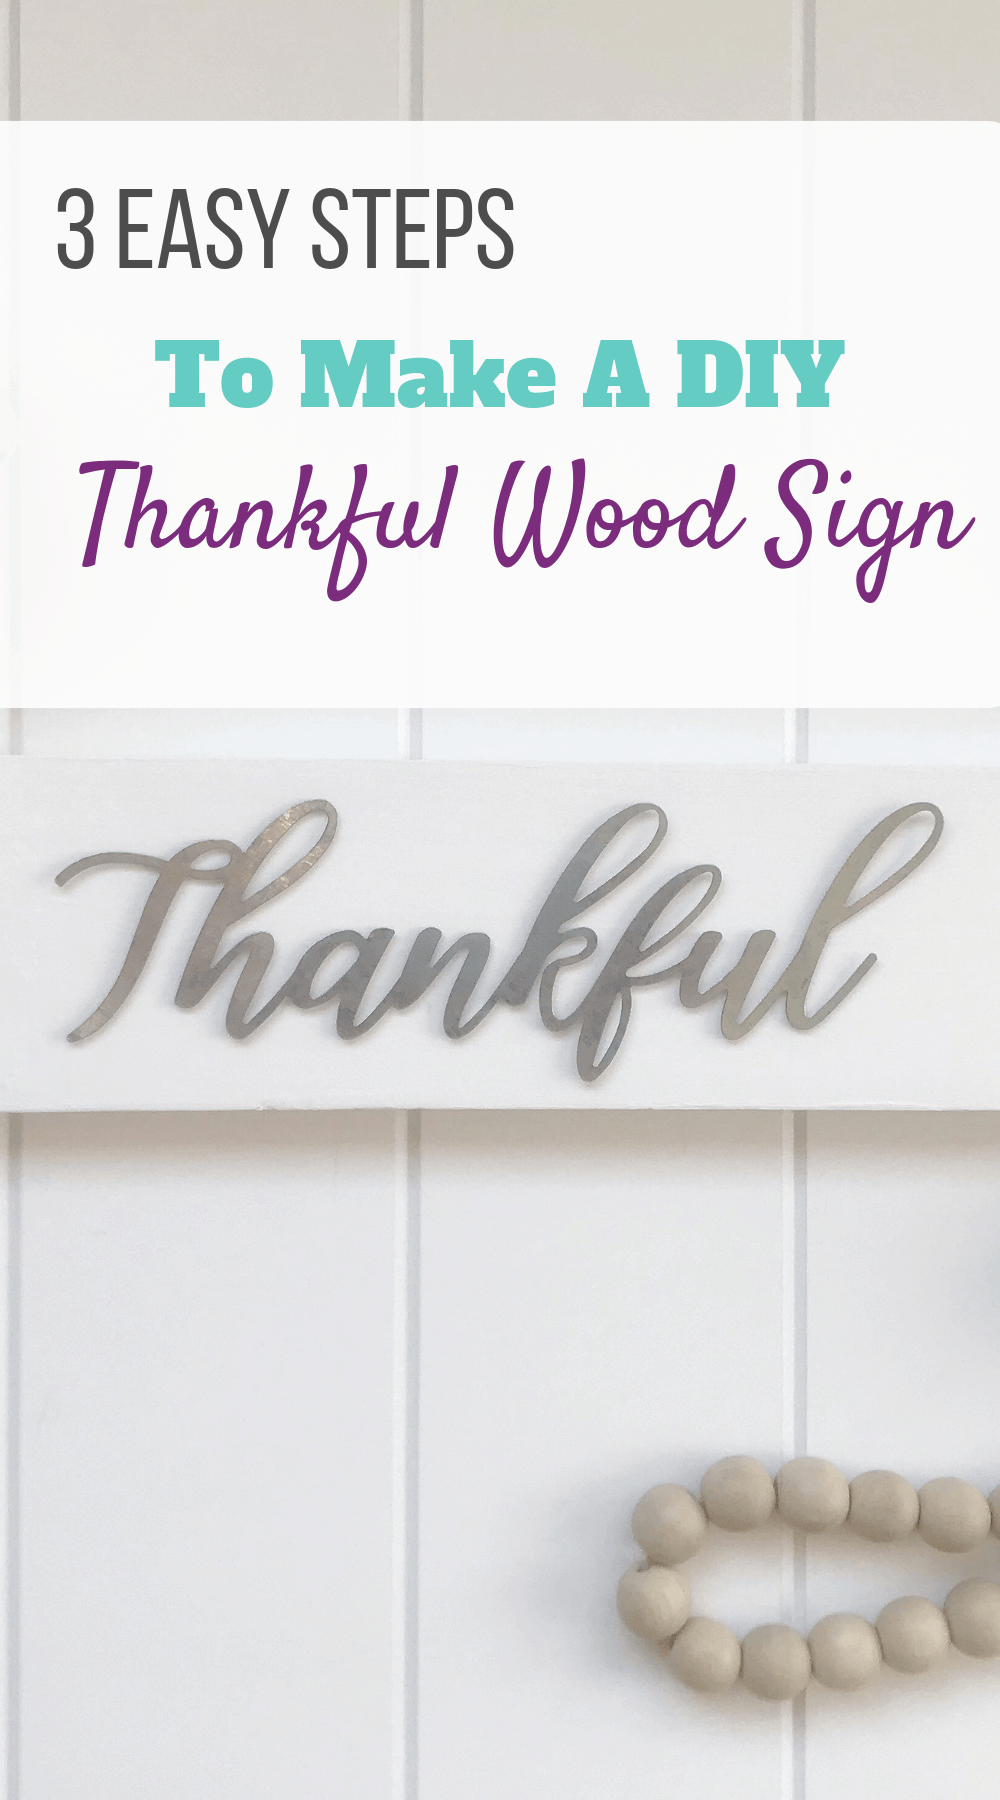
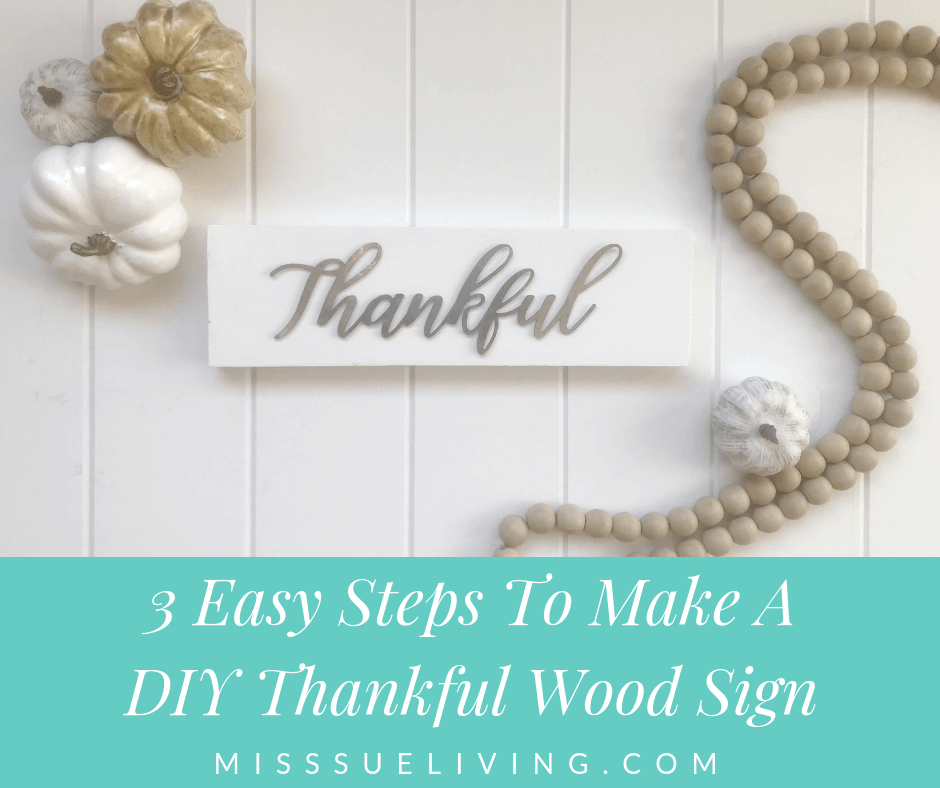
You can create this DIY Thankful Wood Sign on the cheap and without a power saw! Crafting and DIY does not have to be time consuming or expensive.

I see you pinning all those cute DIY farmhouse signs. Have you actually made one yet?
I’m right there with you-pinning all the pretty farmhouse signs I’d like to make for my home. Actually making a sign is a different story.
I have not completed making a sign I’ve pinned to Pinterest. After I pin the DIY craft and go read the post I find that the tool and supply list can be quite extensive. I don’t own many of the items needed to make the pretty sign: i.e. Power saw, nail gun Cricut cutter. These are not tools I have in my home.
You may have run into the same road block.
There may be affiliate links in this post! By clicking on them, or purchasing recommended items I may receive a small compensation, at no cost to you! However, I only recommend products I absolutely love and use in my own home or would love to use! Thank you for supporting Miss Sue Living when you shop! See my disclosure policy for more info!
Thankfully 😉 this wood sign DIY has a small and inexpensive supply list. It can be completed in 3 easy steps.
Supply List
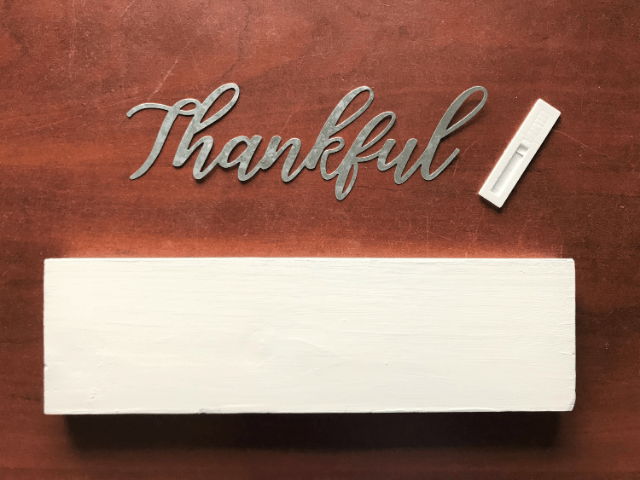
- 12 in x 3 1/2 in wood piece. Check your local hardware stores wood scraps bin or you can ask them to cut a board to size for you.
- white chalk paint.
- paint brush or foam brush.
- metal Thankful cutout. (I got mine at Dollar Tree)
- foam mounting tape.
Step 1
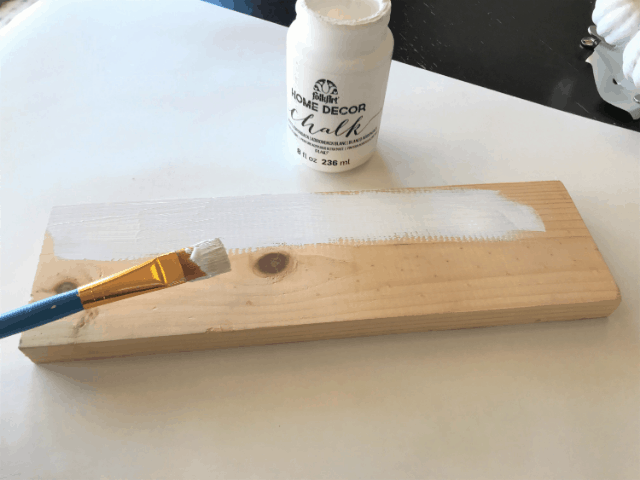
- Paint one coat of chalk paint on whole board. Let dry completely (about 2 hours).
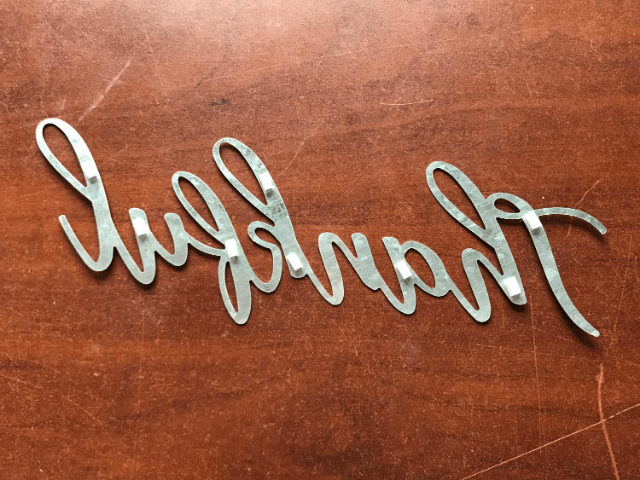
Step 2
- Place foam mounting tape on back of metal Thankful word cut-out.

Step 3
- Attach Thankful metal cut-out to painted board.

That’s it! Three easy steps to making your own Thankful Wood Sign.
You can add some distressing to your wood sign by sanding the edges with 200 grit sandpaper. Be creative and make it your own. Now you can say you completed a DIY wood sign project.
This Thankful Wood Sign is a perfect addition to your fall decor or great to give as a gift.
Make sure to pin this post so your friends can make their own Thankful Wood Sign too!
