This Dollar Tree DIY Fall Garland is so simple to make. You may just want to make a couple of them for your home.
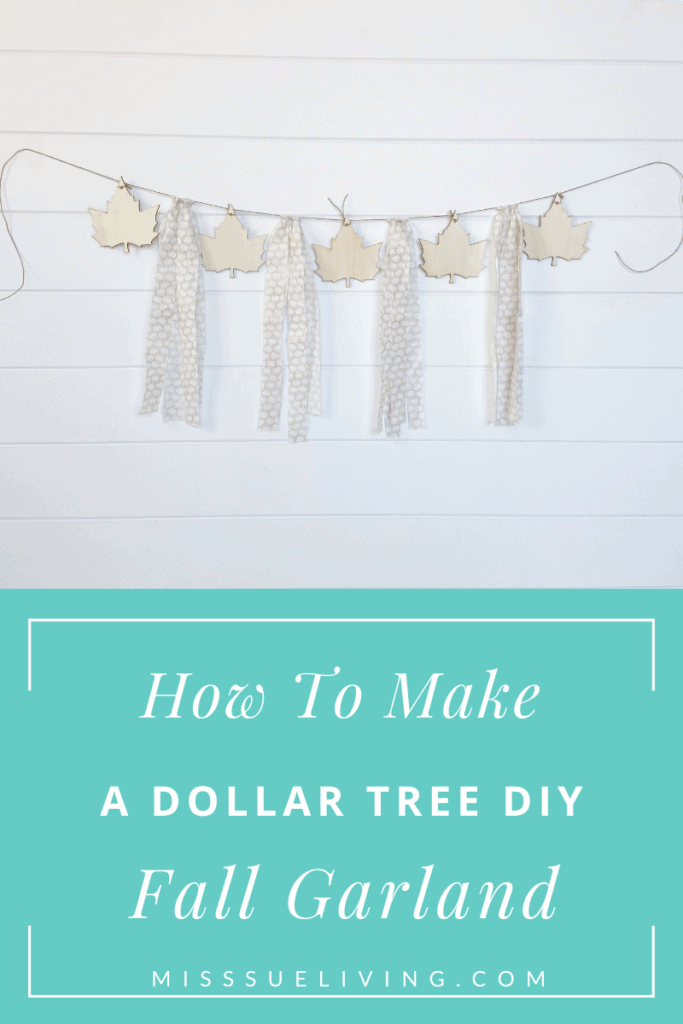
Fall is my favorite so adding another DIY fall garland to my decor was on my “to-do” list.
Last fall season I picked up several of these wooden leaf packs from the Dollar Tree and this year I’m using them to decorate in my home.
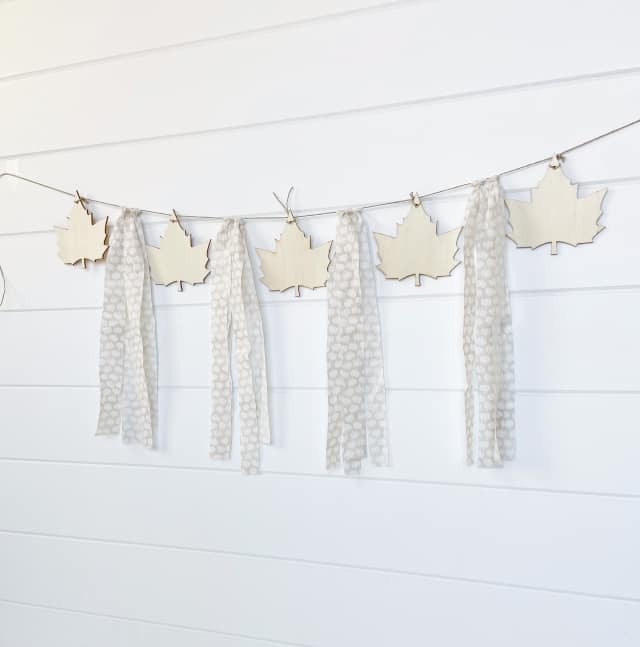
I made this simple fall garland but didn’t love it at first. Now that I have it displayed in my home I think it’s the perfect fit for my neutral fall decor theme.
Ready to make this simple fall garland?
Grab Your Supplies
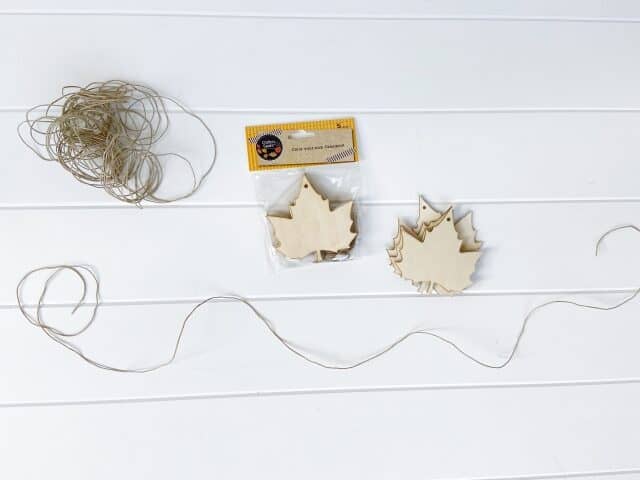
- To make the fall garland you will need jute twine or hemp twine.
- A package (5 wood leaves) of wood leaves from Dollar Tree (or Amazon).
- A 10 x 24 in piece of fabric of your choice. My fabric was from Joann’s and has mini pumpkins on it.
- A pair of scissors.
How To Make The Fall Garland
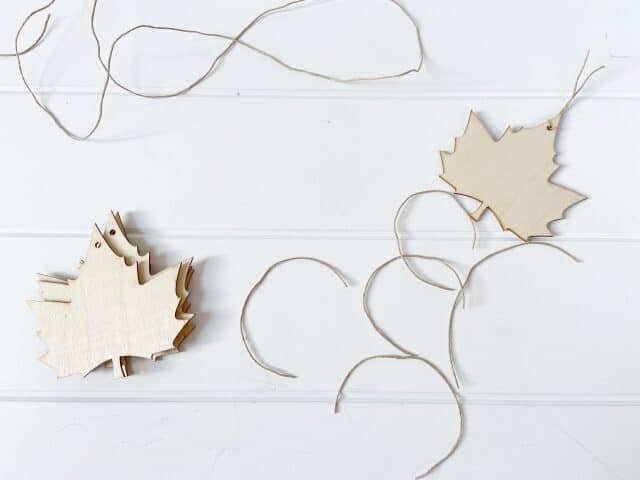
Start by cutting a 4 ft (48 inch) piece of twine.
Get your wood leaves ready. Cut a piece of 8 inch twine for each leaf. Then attach the twine to each leaf. NOTE: See the photos below for how to attach the twine to the leaf to keep the leaves facing forward on your final garland.
RELATED: DIY Dollar Tree Chalk Painted Pumpkins
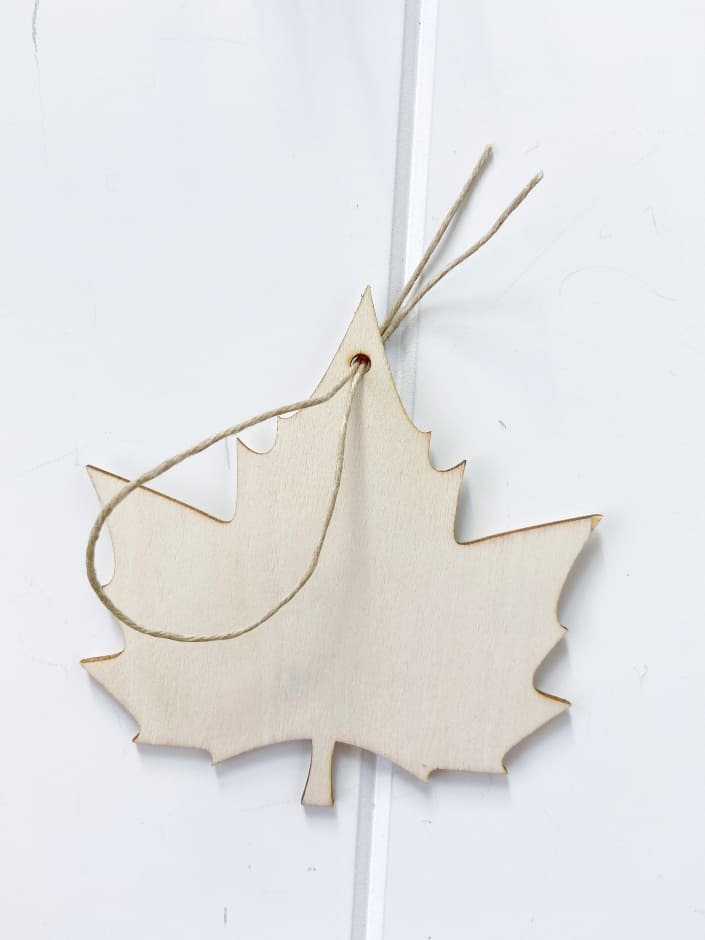
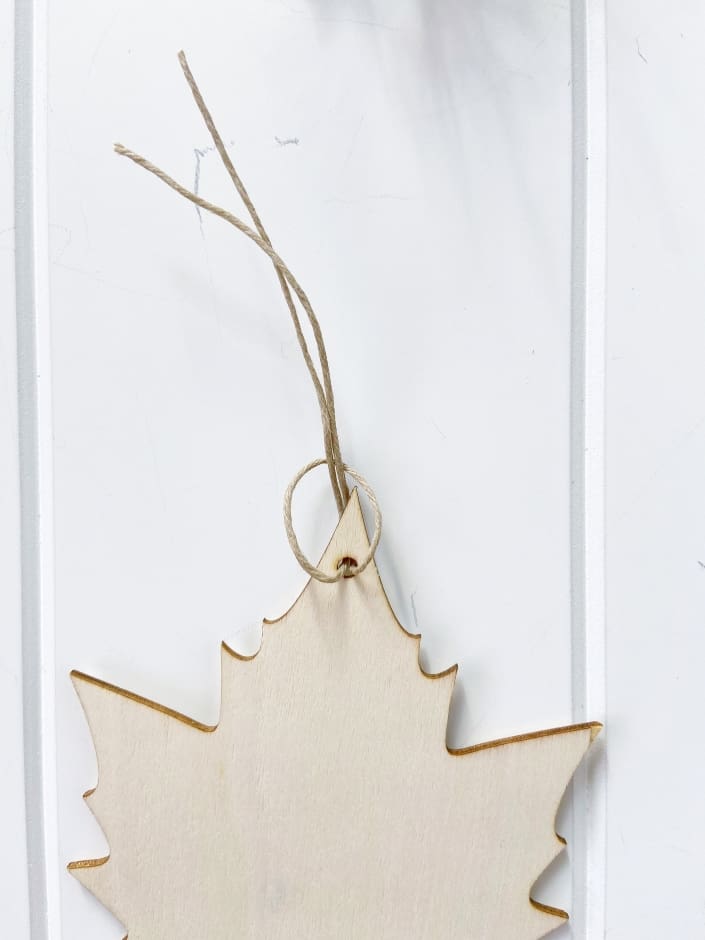
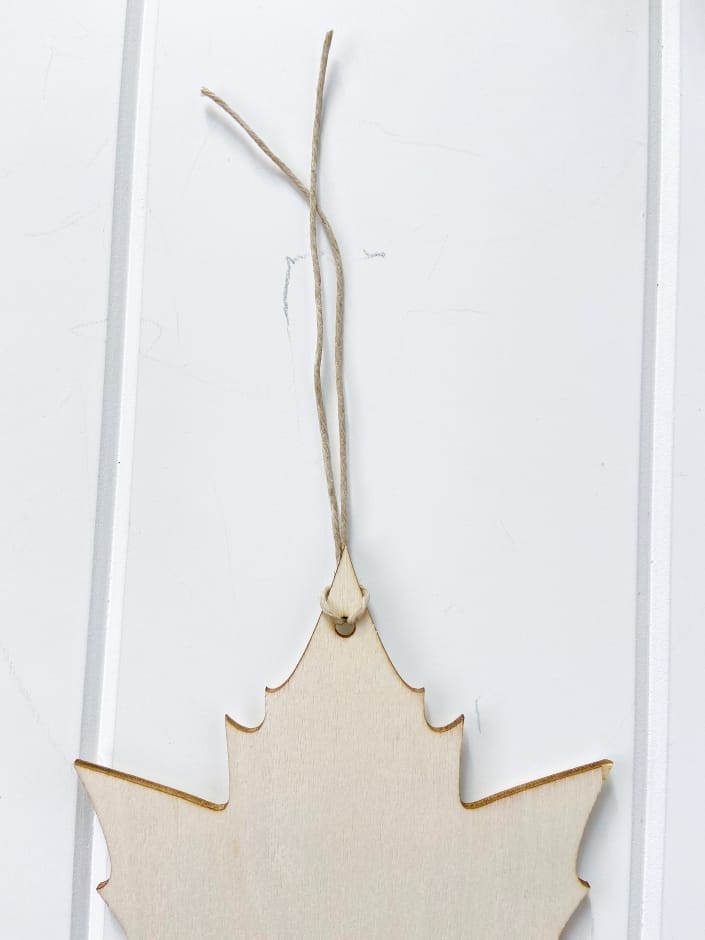
Now you will begin to tie the leaves to your 4 ft length of jute twine.
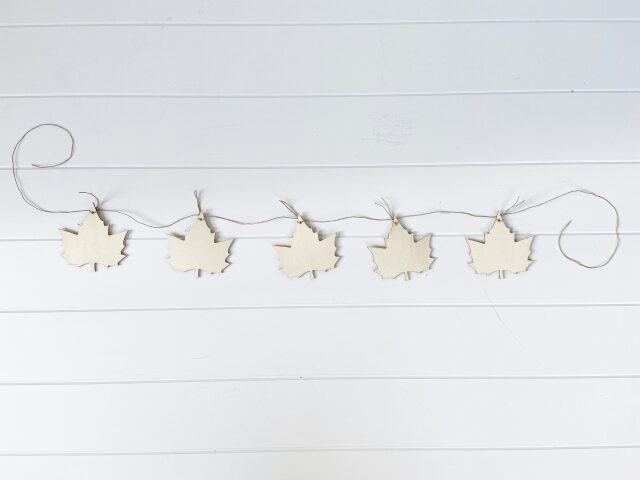
Find the middle of your twine and attach the first wood leaf with a knot.
Measure about 6 inches away from the first leaf and attach 2 leaves on either side of the first leaf with a knot. Then repeat.
You will have 5 leaves on your garland. Each leaf should be spaced approximately 6 inches apart from another.
Cut off excess twine from top of leaves.
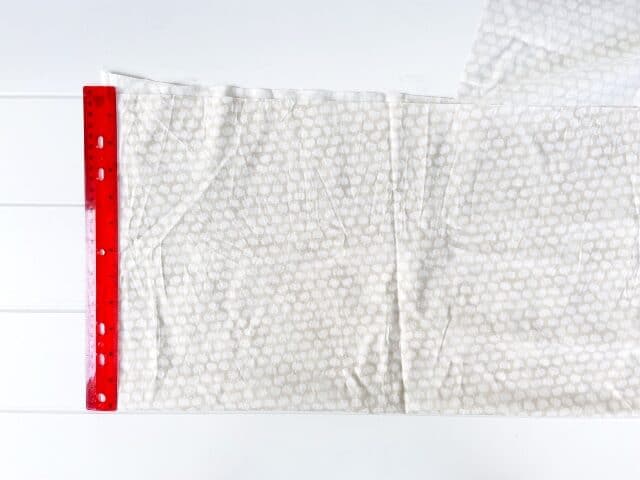
Now you will make your fabric rag ties. Fold your piece of fabric in half longways. Measure and mark every 1 inch with a pencil.
Related: DIY Fall Wood Bead Garland
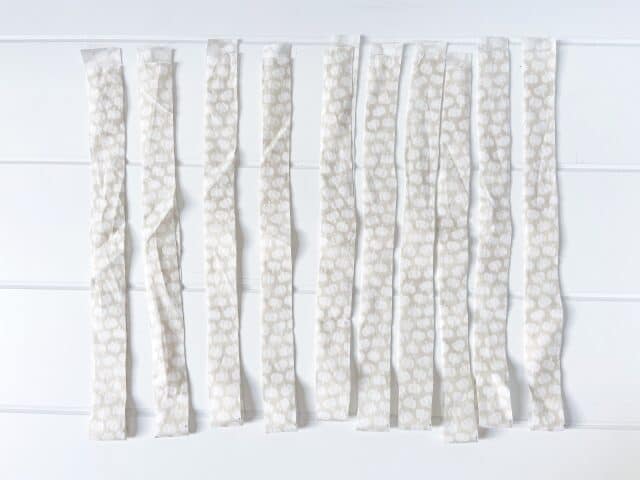
Each rag tie will be 1 inch thick. With the fabric still folded in half cut ( I just eyeballed it) from the folded end to the open end creating a 1 inch x 24 inch strip of fabric.
Continue until you have 8, 1 inch rag ties.
You will be using 2 of your rag tie strips between each wood leaf on your garland.
Lay your leaf garland on a flat surface or hang it to add the rag ties.
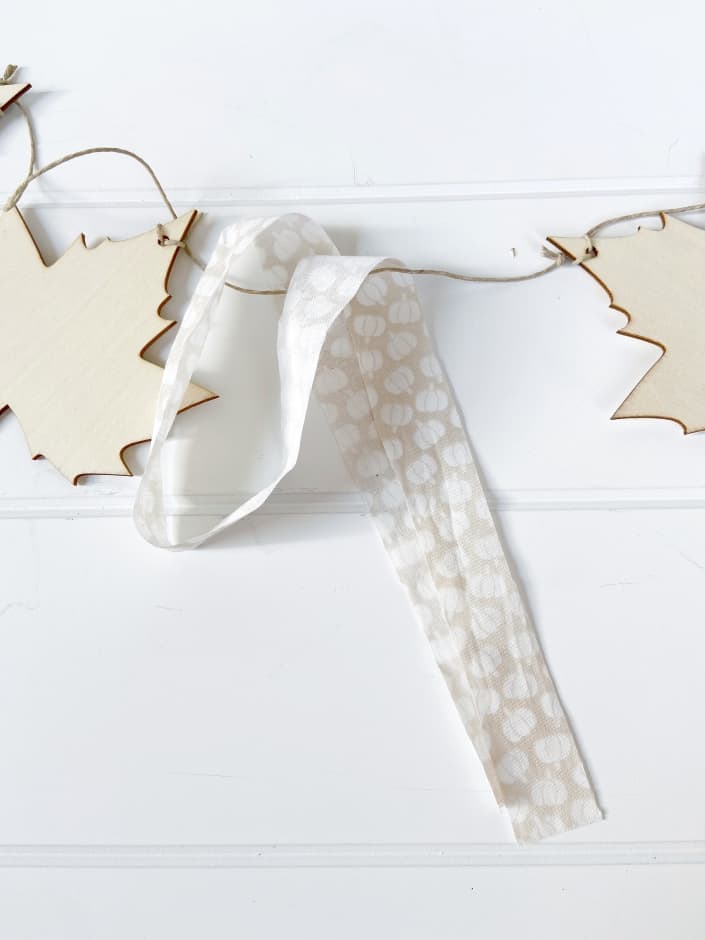
To attach your fabric, fold your fabric in half, place it under the twine and fold the bottom half up over the string, to the right.
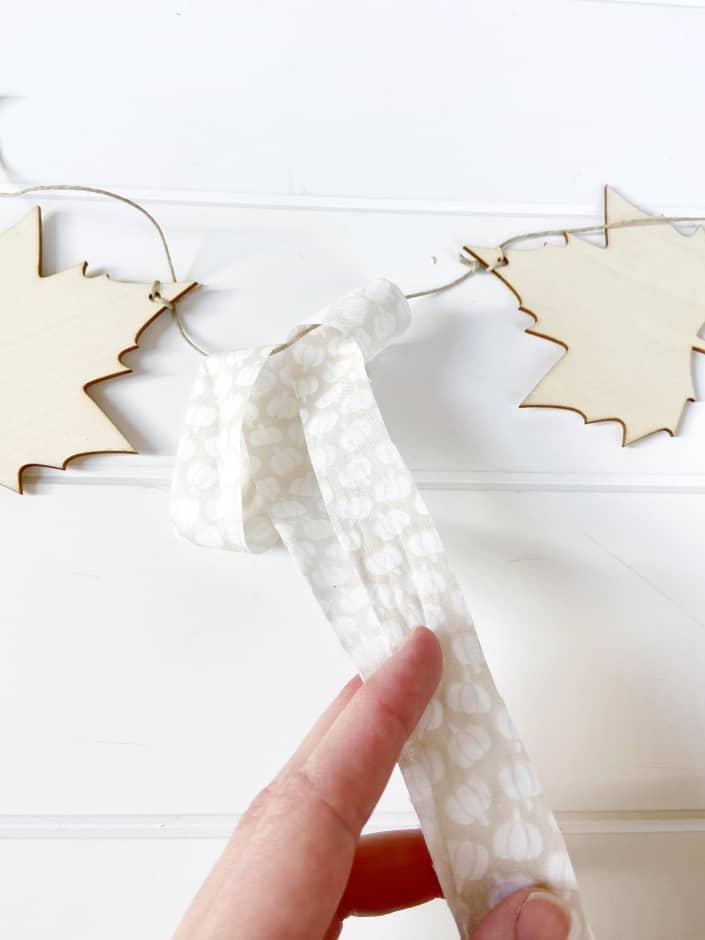
Bring the two bottom pieces through the loop and pull until it forms a knot.
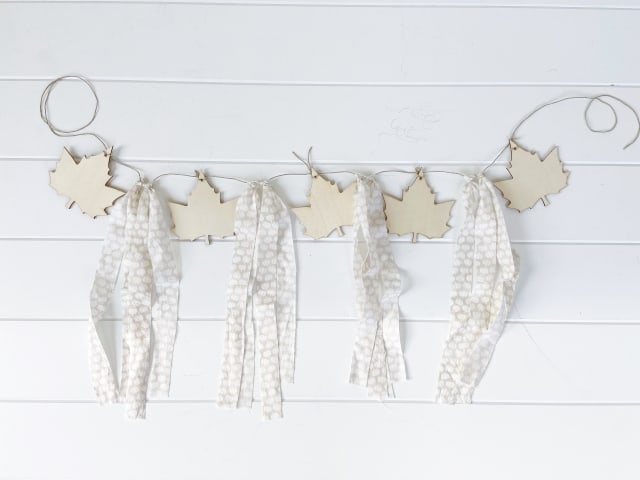
After you have attached all fabric pieces then you can adjust the placement of them.
You can also trim the ends of the fabric if desired once you have them all in place.
Finished Fall Garland
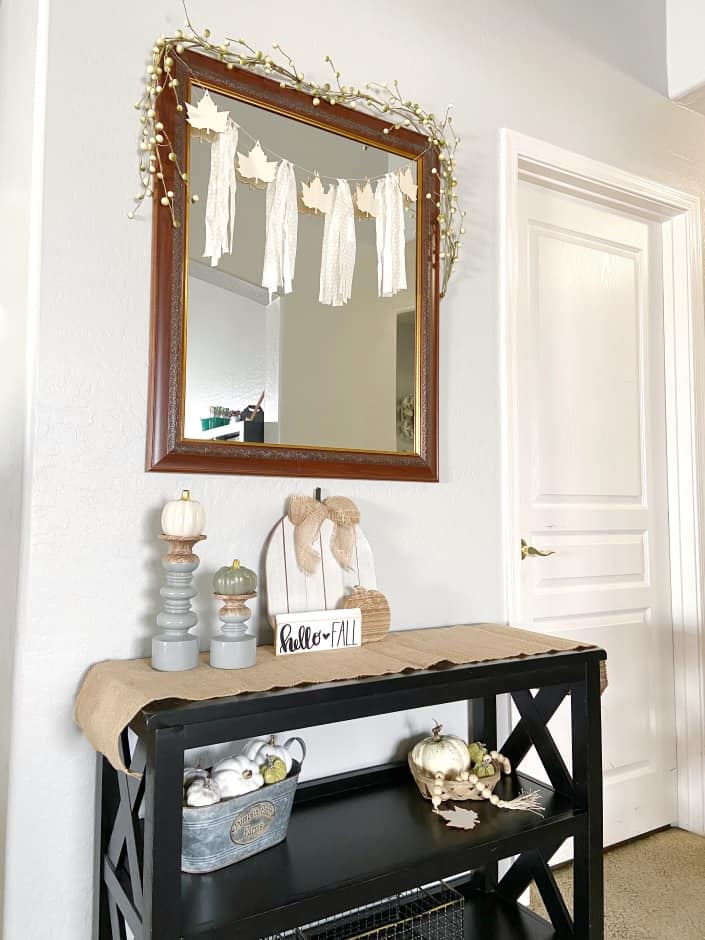
Here is my Dollar Tree Diy Fall Garland hangging above my entryway table. I love how it turned out and fits in so well with my neutral fall decorations.
Have fun making your fall garland and get creative by adding more wood leaves or rag ties to it. Make it your own!
