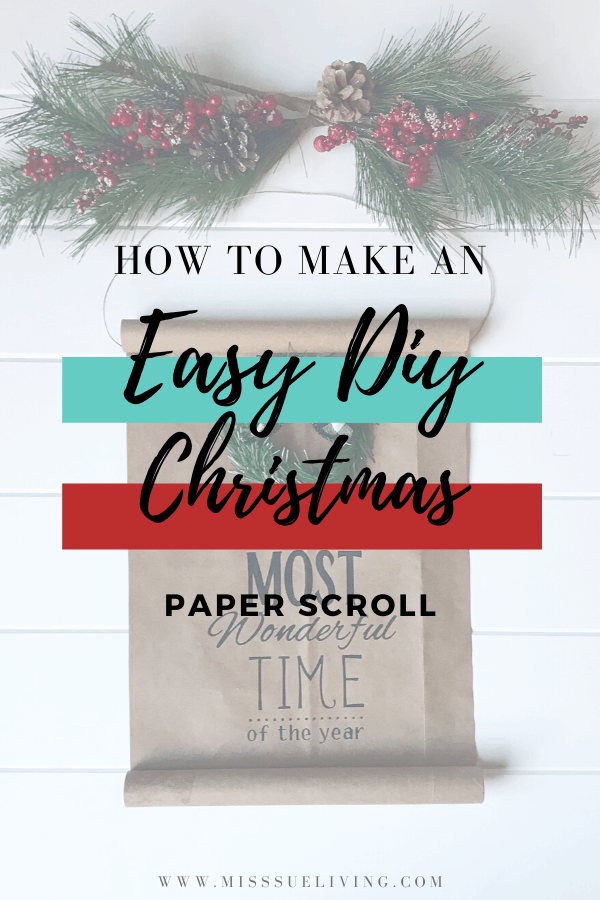
Make your own décor this Christmas! This DIY Christmas paper scroll sign is easy to make. No fancy machines or software needed. You can make this beautiful scroll on your own by following this tutorial.
This week I’m teaming up with 3 of my best blogging friends to bring you great DIY Christmas Decor ideas that you can add to your home this holiday season.
Each of my friends has a unique and great idea for how you can add DIY Christmas decor to your home.
April from Love Our Real Life
Jaclyn from Coffee Pancakes & Dreams
Morgan from My Pear Tree Home
Make sure to pop over to each ladies post for more inspiration this holiday season! And stay tuned as we will be sharing Christmas ideas all November long!
For over a year now I have been using Kroger’s ClickList to get my groceries each week. At my store they deliver your groceries to you in brown paper sacks.
The DIY girl in me loves these paper sacks! The crafting possibilities are endless. My husband doesn’t appreciate them because they do not have handles- which can make it harder to carry multiple bags of groceries. But I welcome the paper bags!
Last year I used a paper bag for my Christmas Book Countdown. You can check it out here.
This year I decided I wanted to try making a DIY paper scroll with the paper bag. Rather than buy a roll of kraft paper I can use my stack of free paper sacks from Kroger.
Here’s what you’ll need for this DIY Christmas Paper Scroll Sign:
There may be affiliate links in this post! By clicking on them, or purchasing recommended items I may receive a small compensation, at no cost to you! However, I only recommend products that I absolutely love and use in my own home or would love to use! Thank you for supporting Miss Sue Living when you shop! See my disclosure policy for more info!
- Paper bag or kraft paper roll
- Jute twine, hemp twine or ribbon of choice
- Black paint pen or black sharpie markers
- Hot glue gun or scotch tape
- Chalk or pencil
- Printable quote template or stencil
- Iron (optional)
How to make a DIY Christmas Paper Scroll Sign
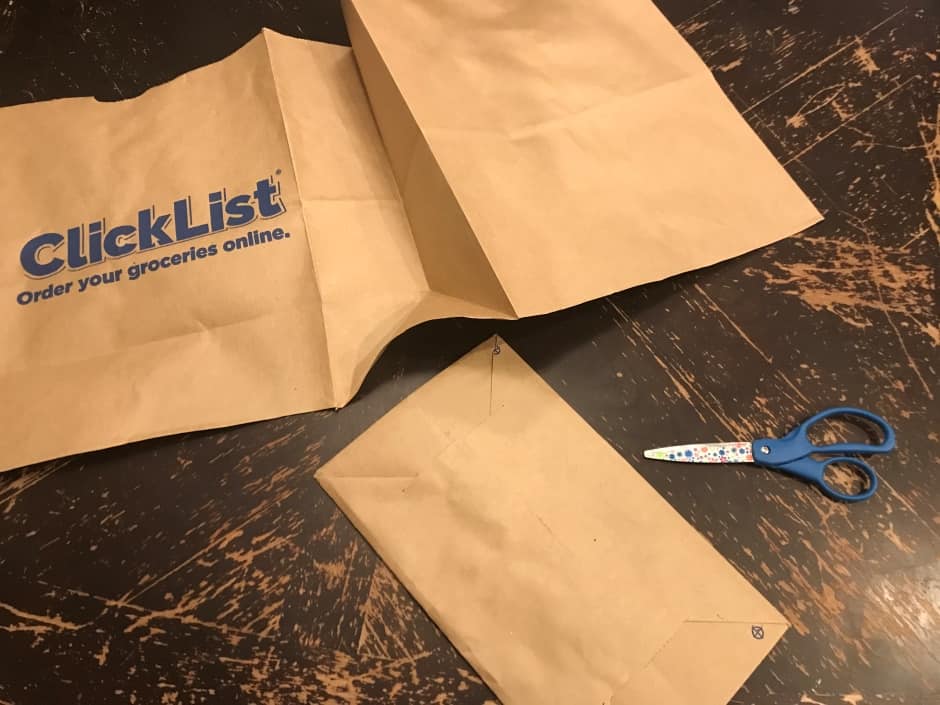
Start with your paper bag and cut down one side. Cut off the bottom ( carefully to keep your cut as straight as possible) of the bag so you are left with one large rectangle of you paper bag.

I used an iron on a low heat setting and placed a tea towel over the top of the paper bag to iron out the bags creases. I wanted a nice flat surface.
The iron did not remove the creases from the paper bag but it did make them less pronounced.
After ironing the bag I noticed that one side of the paper bag was not a completely straight line.
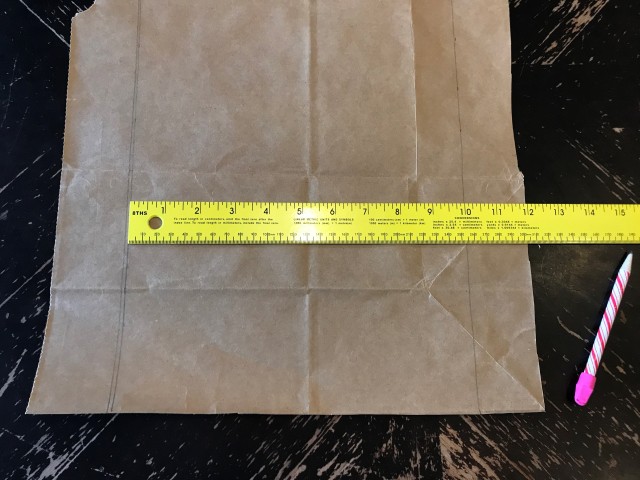
I got out a ruler and measured and marked down the uneven sides of the bag every inch. Then took my scissors and cut a straight line. (The width of my paper bag after cutting is 10 inches)
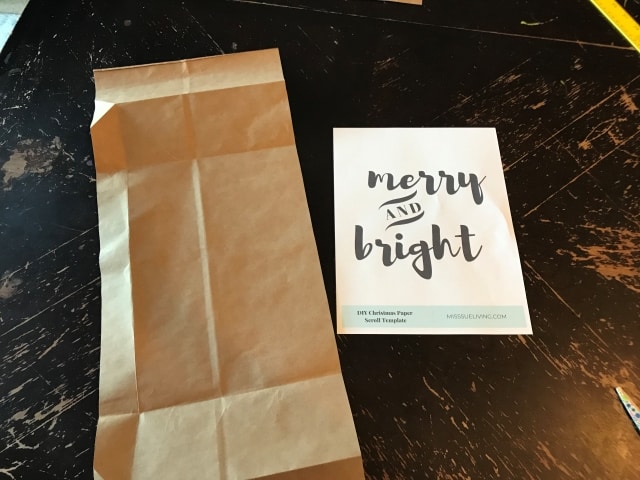
Next I rolled both ends of the paper bag to see what length I wanted my scroll to be. The printable quote template is on an 8.5 x 11 in piece of paper so I used that to help me decide the size of the scroll.
Once I had my length determined (about 25 inches long) it was time to prep for writing.
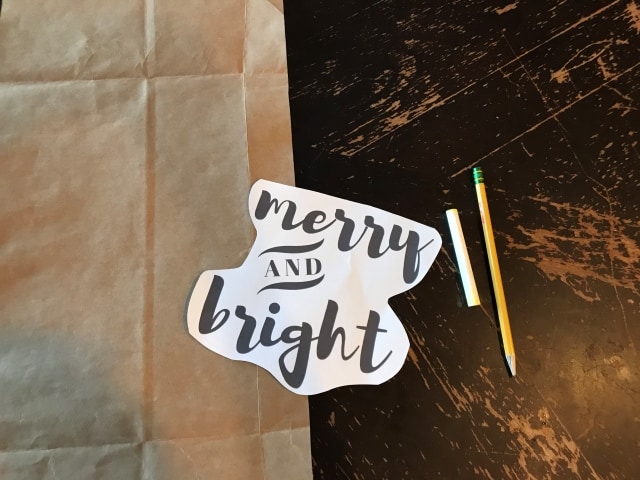
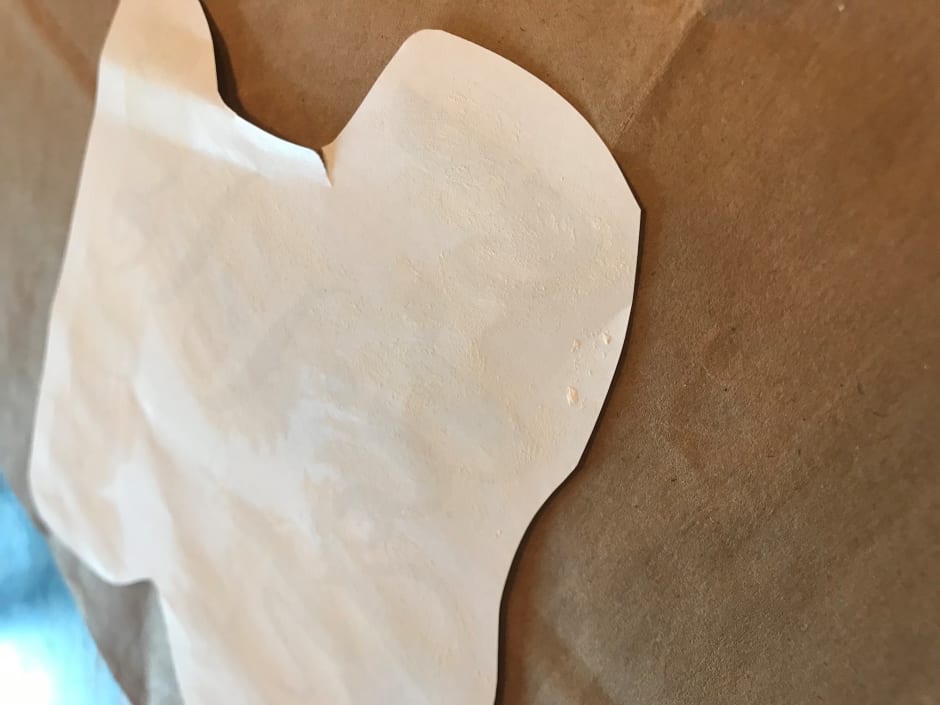
Using the printable template I covered the back in white chalk. Then flipped the quote over onto the paper sack and secured with masking tape (you could also use painters tape).
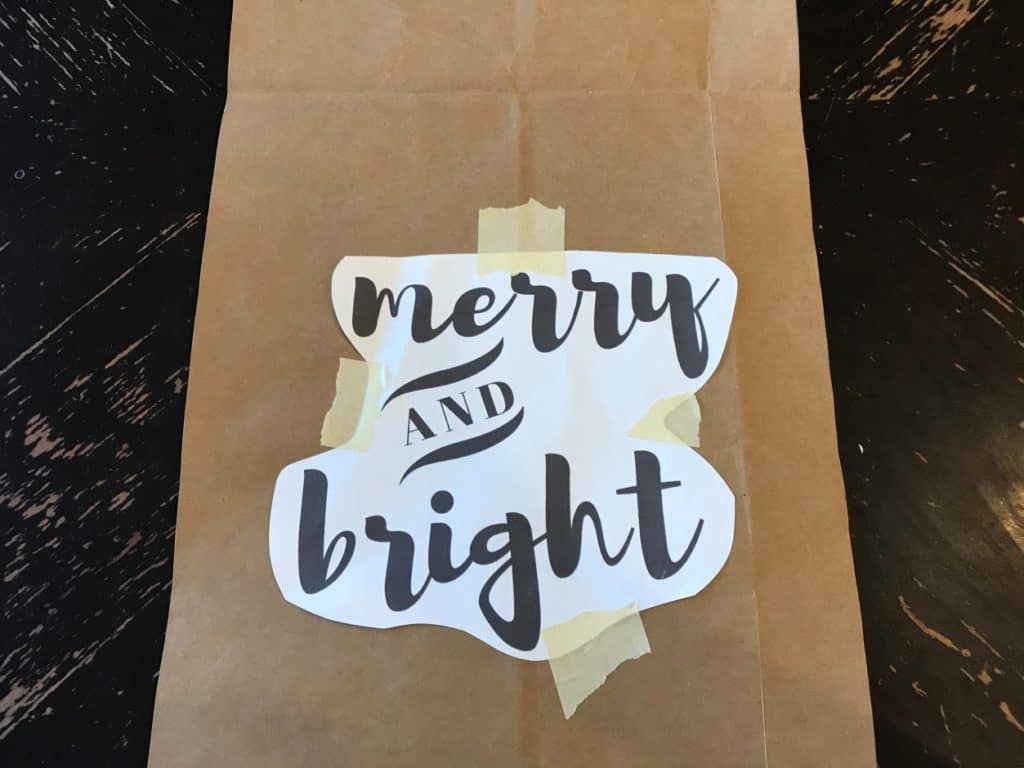
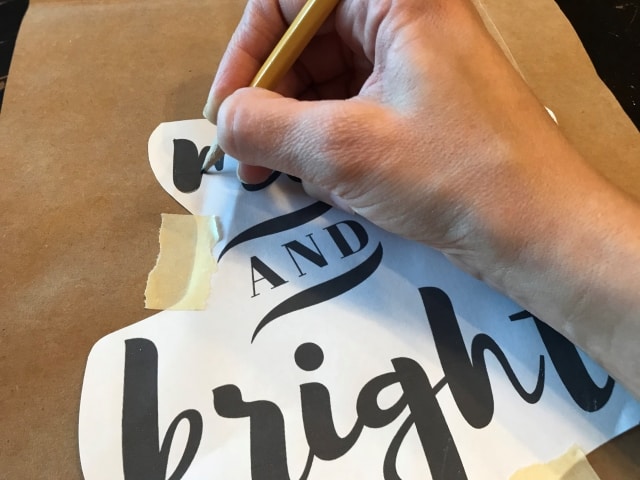
It was now time to trace the letters. Pressing firmly, I traced the outline of each letter with a pencil. Then I removed the quote template.
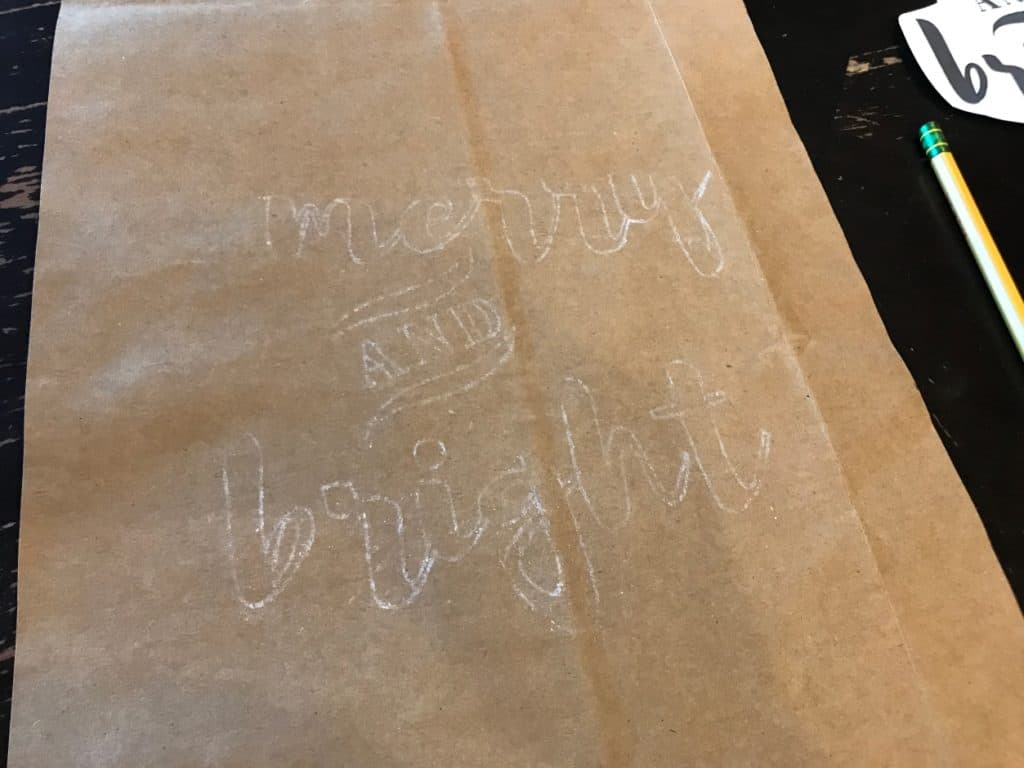
Here you can see that the chalk transferred my quote onto the paper bag. Now I can use my paint pen to trace the lettering and fill it in.
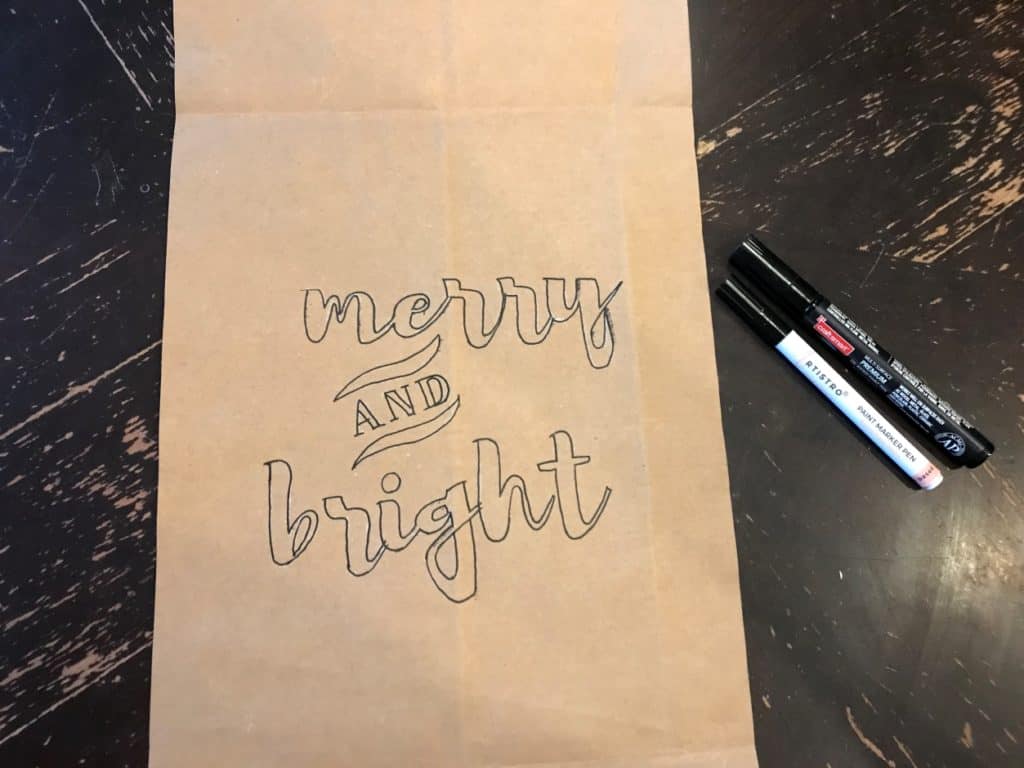
I began by tracing the font outline with my paint pen and then used a paper towel to wipe off excess chalk left behind.
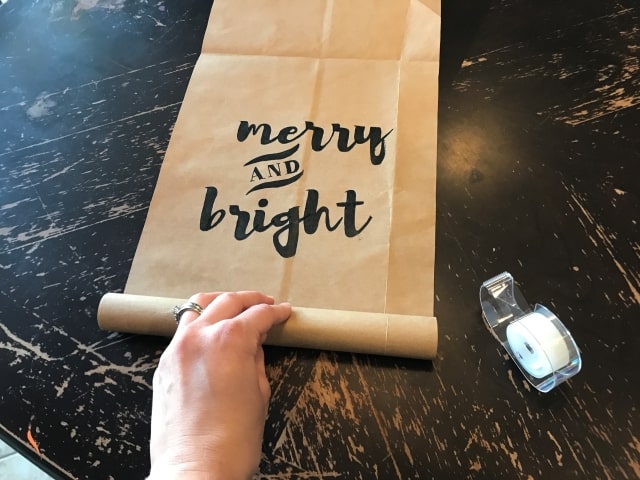
Next I went back over my lettering and filled in the font completely with the paint pen.
Now it was time to secure the ends of the scroll.
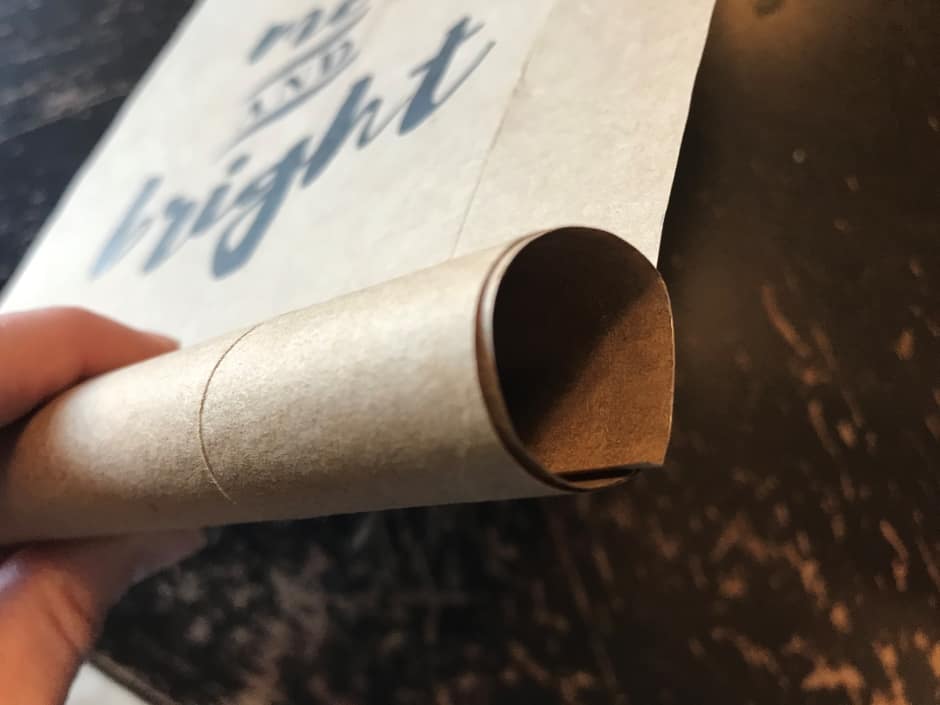
I used a piece of scotch tape on each end of the scroll to secure the top and bottom of the scroll into place.
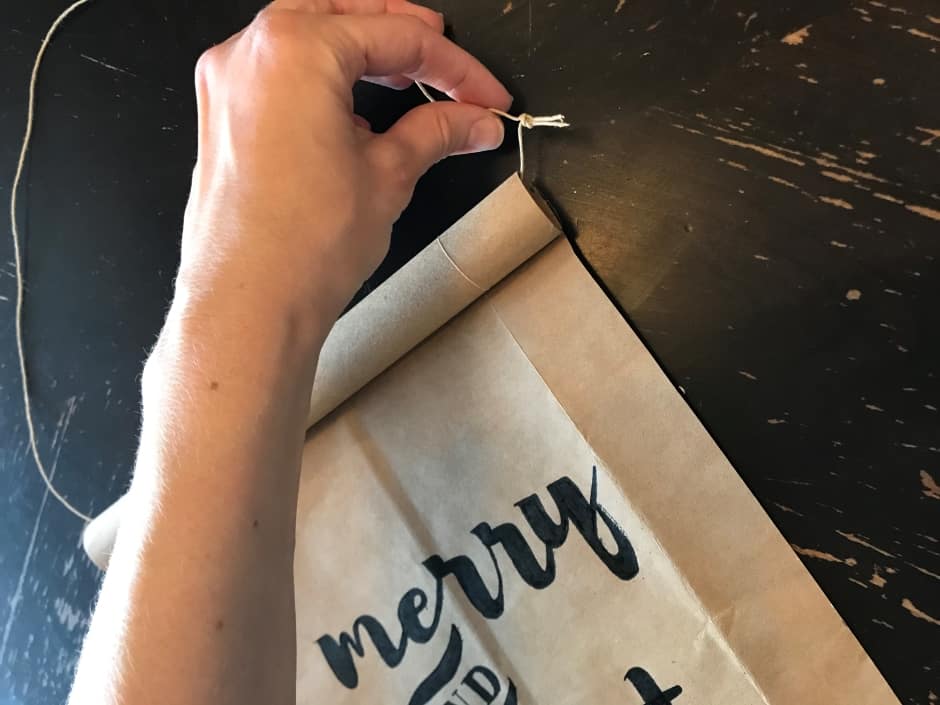
Lastly I threaded hemp twine through the top of the scroll and tied a knot. I then placed the knot inside the scroll to hide it and have a nice clean look.
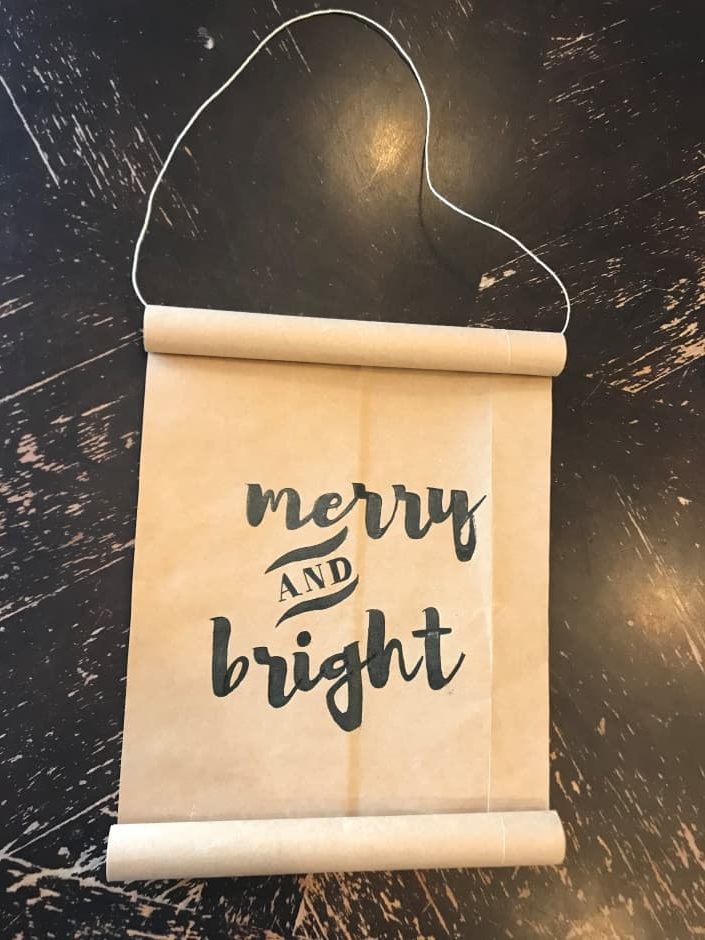
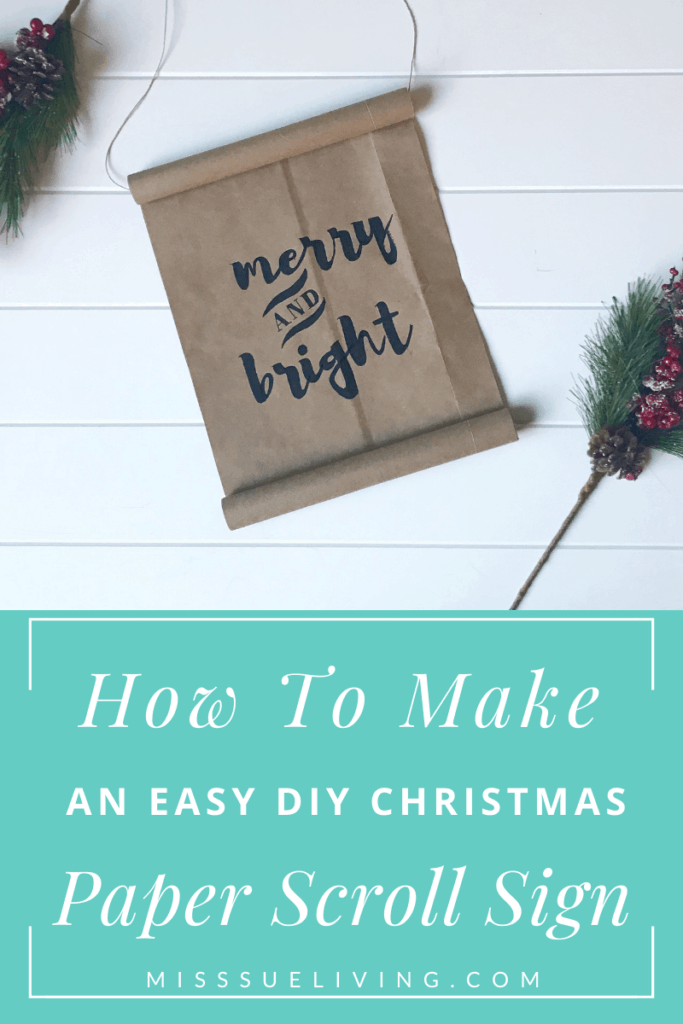
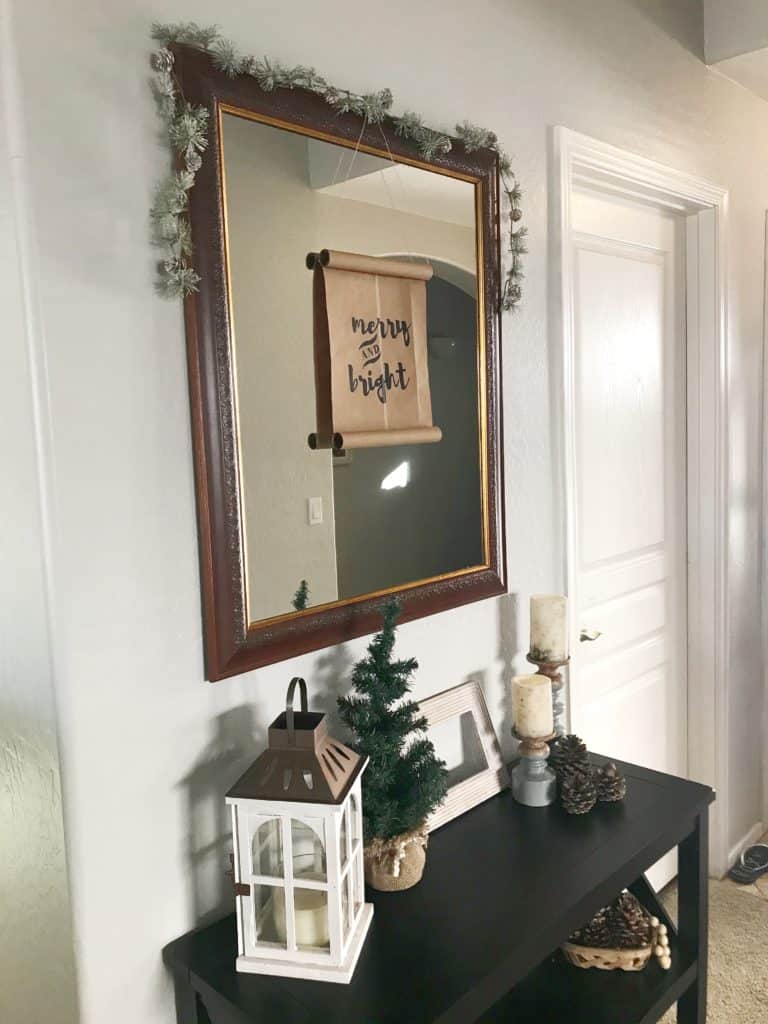
Here is the finished DIY Christmas Paper Scroll Sign. Isn’t it lovely!
Step By Step Instructions:
- Cut down one side of paper bag then cut off bottom of bag completely.
- Iron bag to flatten and remove creases
- Cut paper bag to desired width and length
- Rub chalk on back of printable template
- Tape template onto paper bag
- Trace template lettering firmly with pencil
- Remove template and trace lettering with black paint pen
- Fill in lettering with black paint pen
- Roll each end of scroll and secure with scotch tape
- Add hemp twine to top of scroll for hanging
- Optional: Add embellishment of your choice to twine or top of scroll
Second Option For Making A Paper Scroll Sign
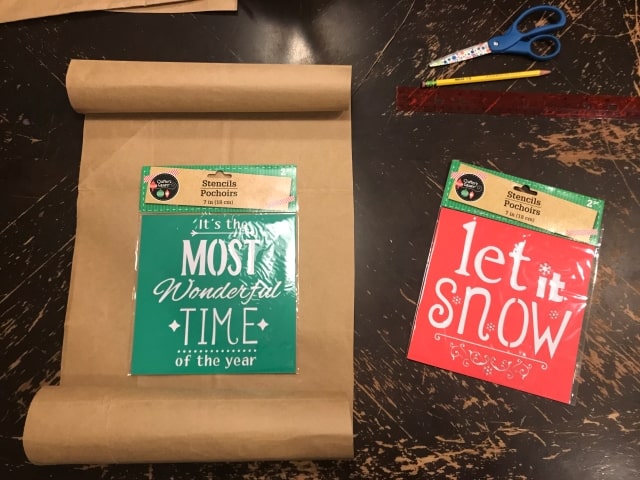
I found some cute Christmas stencils at Dollar Tree and knew they would be perfect for making another DIY Christmas Paper Scroll Sign.
Supplies for Second Option:
- paper bag or kraft roll
- stencil of your choice
- paint pens or Sharpie markers
- hemp twine
- embellishment of your choice (optional)
To use the stencil method follow the above instructions for preparing the paper bag.
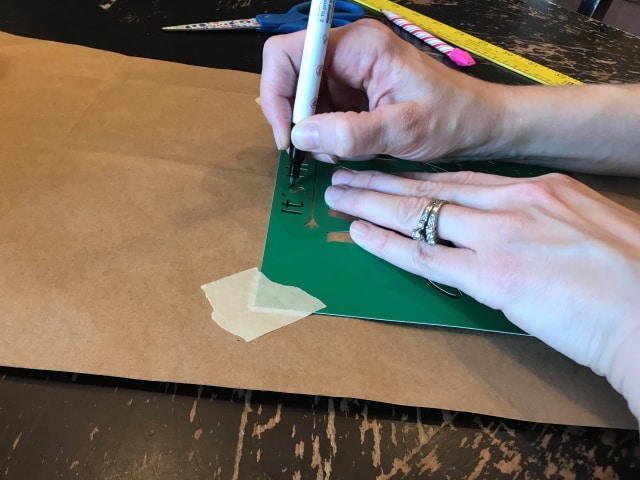
Then tape down your stencil onto the paper bag. Trace the stencil lettering with a paint pen or fine tip Sharpie marker.
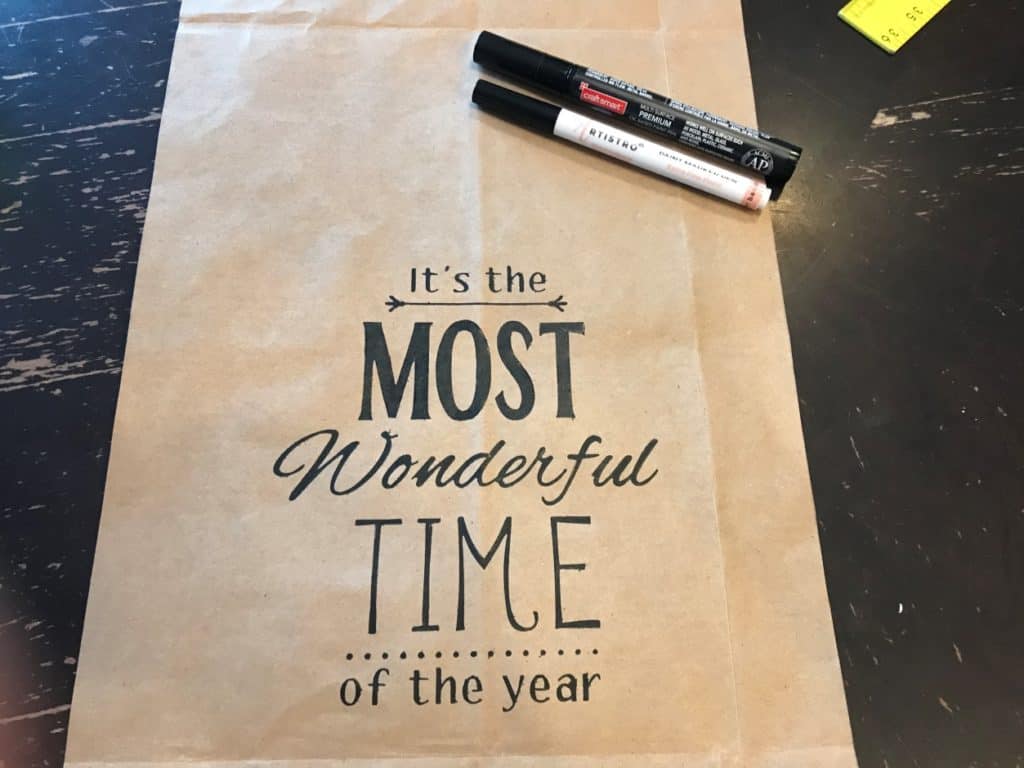
Remove the stencil and fill in the lettering with the paint pen or fine tip Sharpie marker.
Roll each end of your scroll and secure with scotch tape.
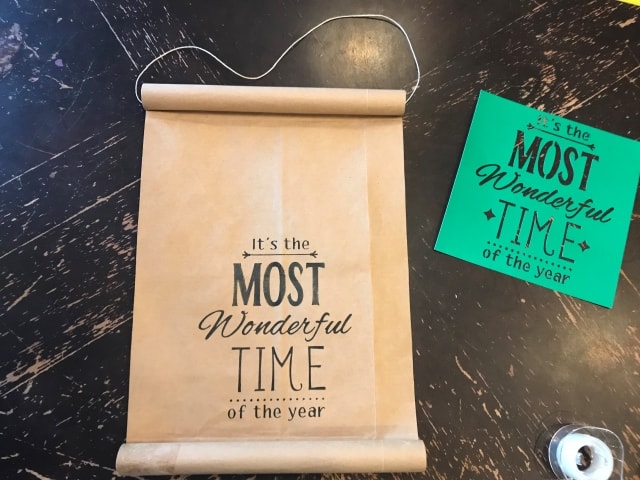
Here are a few ideas for embellishing your paper scroll signs.
You can easily add some embellishments to your scroll sign. Add ribbon or greenery to the twine or even to the scroll itself.
I chose to add a cute mini wreath to the top of my stenciled DIY Christmas paper scroll sign.
I actually made the wreath myself with a buffalo check bow from Walmart and a garland tie from Dollar Tree.
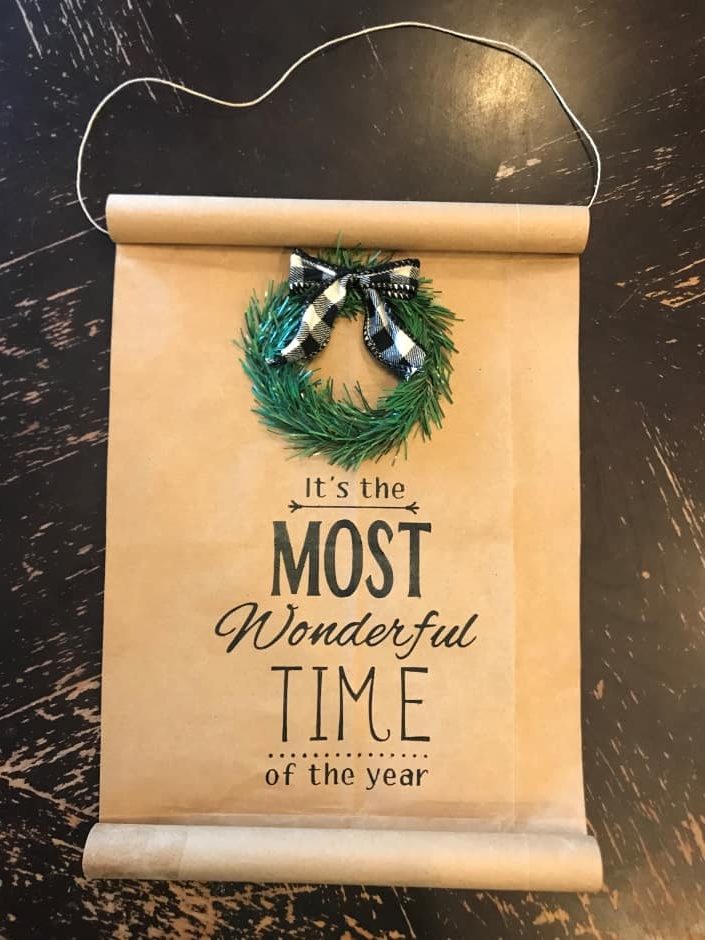
These are two ways you can easily make your own beautiful Christmas paper scroll sign!
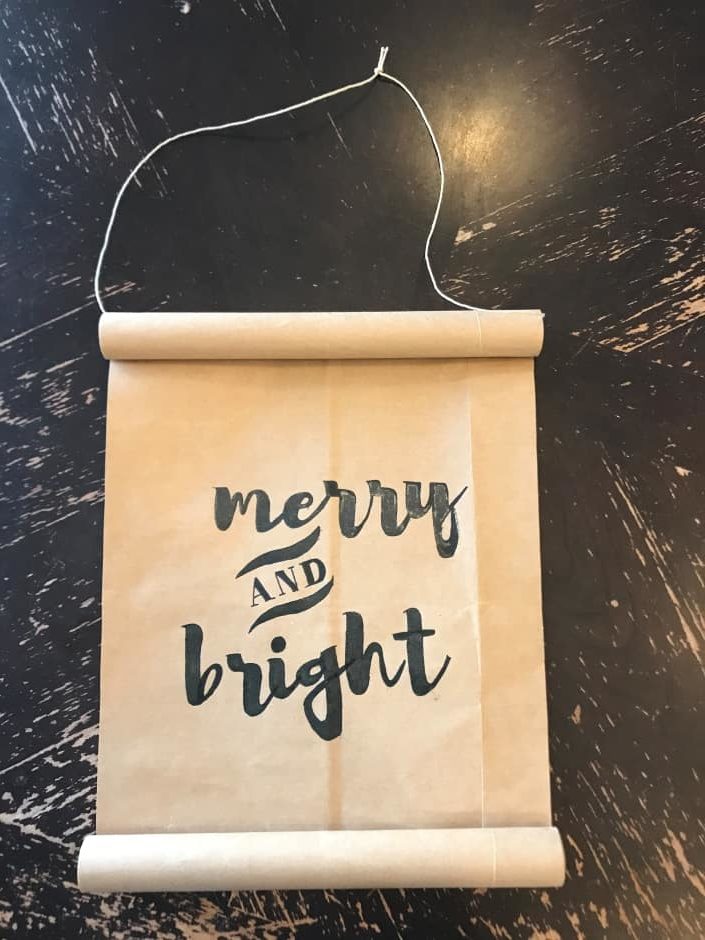

This simple DIY Christmas Paper Scroll Sign is an easy way to add to your Christmas home decor this season. You could also make a few to give as gifts to friends and family too!
Make sure to check out my friends blogs for some more fun DIY Christmas home decorating ideas, These ideas are sure to inspire you and get you into the decorating mood.
- April from Love Our Real Life– Cheap Christmas Decorations // Affordable AND Beautiful
- Morgan from My Pear Tree Home– DIY Coastal Christmas Decor Ideas
- Jaclyn from Coffee Pancakes & Dreams– DIY Mini Snowglobe Ornaments
