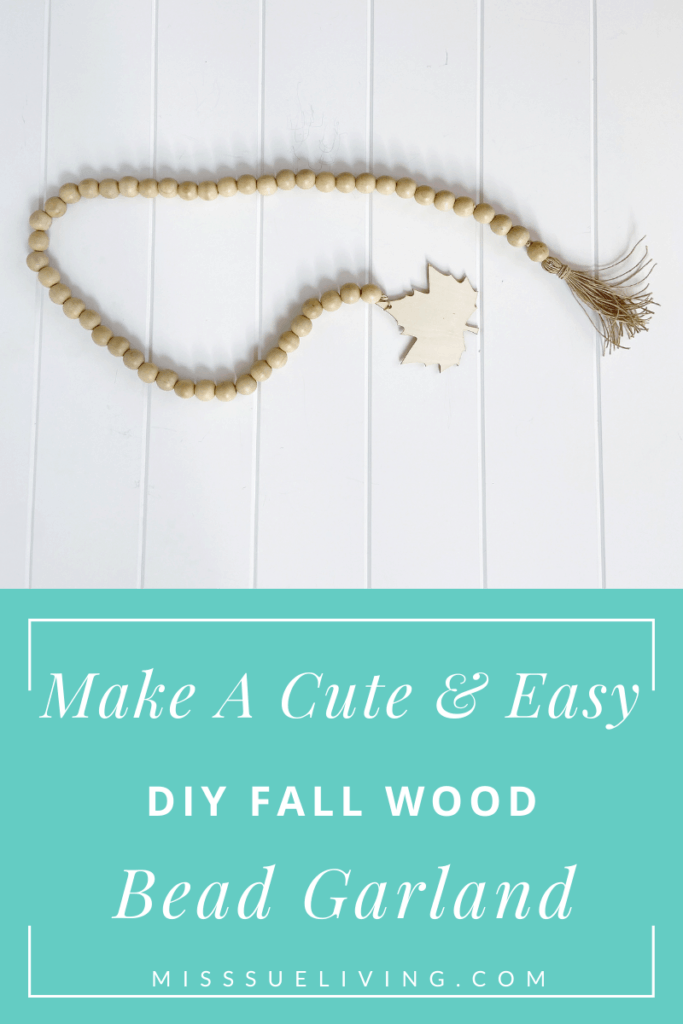
Easily make this DIY Fall Wood Bead Garland and add it to your fall decor. It’s the perfect addition to compliment all your existing home decor!
Fall is my favorite season! I’m excited for cooler temperatures, pumpkin spice everything, sweaters, pumpkins and my birthday. 🙂
I love to add simple touches of fall to my home. Although temperatures in the Arizona desert don’t really cool down well into October, I can’t wait that long to bring out all my fall home decor.
This year I’ll be sticking with a neutral fall decor theme. White pumpkins are my favorite. A few years back I chalk painted all my orange pumpkins white. You can check out that tutorial here.
There may be affiliate links in this post! By clicking on them, or purchasing recommended items I may receive a small compensation, at no cost to you! However, I only recommend products that I absolutely love and use in my own home or would love to use! Thank you for supporting Miss Sue Living when you shop! See my disclosure policy for more info!
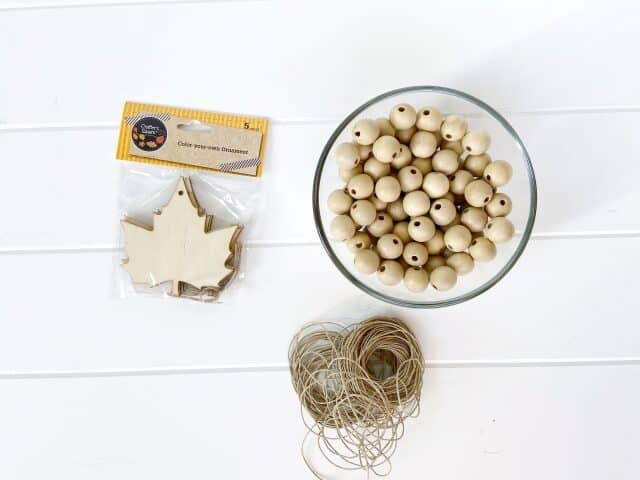
This year I’m bringing more leaves into my decorating. I found this wood leaf pack at Dollar Tree and knew I needed to craft with them.
Let me show you how to DIY your own fall wood bead garland.
Here’s what you will need:
- Hemp twine or jute
- Wood beads
- Wood leaf (or other accent of your choice)
- Scissors
Making this DIY Fall Wood Bead Garland won’t take much time and you could even have kids help with stringing the beads.
How To Make Your Fall Wood Bead Garland
Now that you have your supplies here’s how to make your fall garland:
- Measure the length of twine you would like your garland to be (mine is 36 inches) and then add 6 more inches.
2. Place a knot toward the end of one side of your twine (leaving 3” out).
3. Make one twine tassel (see photo tutorial for tassel below). Or you can buy a tassel here.
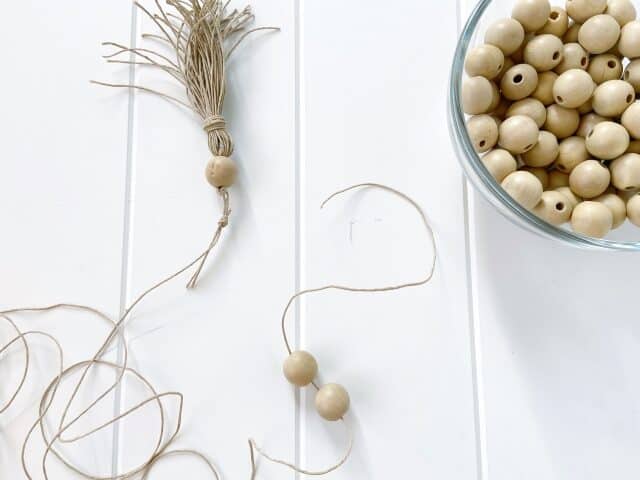
4. Attach twine tassel to one end of your garland using the 3” of twine. Trim any excess twine.
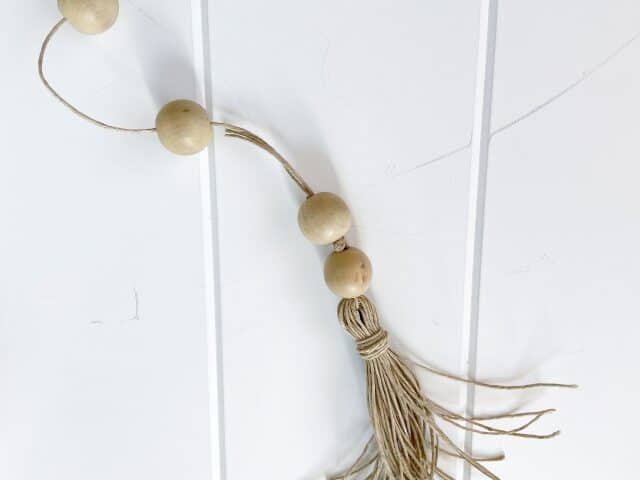
5. Begin placing wood beads on twine until desired length is reached. My garland has 50 wooden beads on it. Note: garland should be loose enough to slightly separate beads and bend for styling.
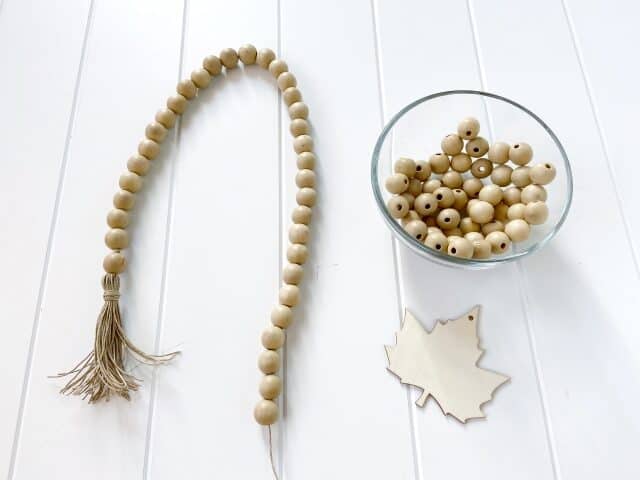
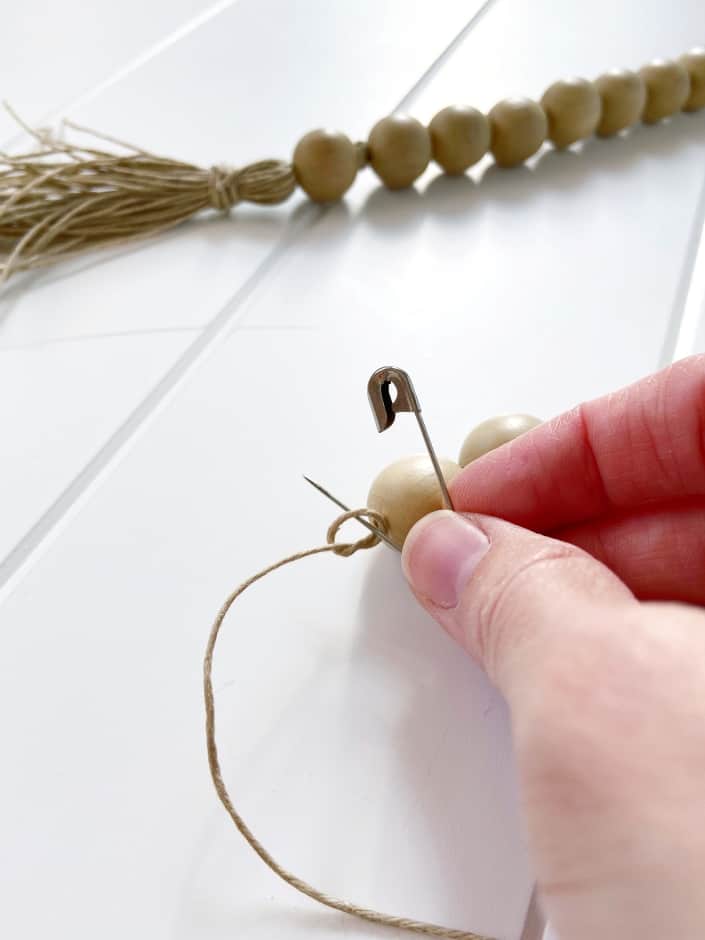
6. Once you reach the desired length of your garland secure the end with a knot leaving 2-3 inches free of beads.
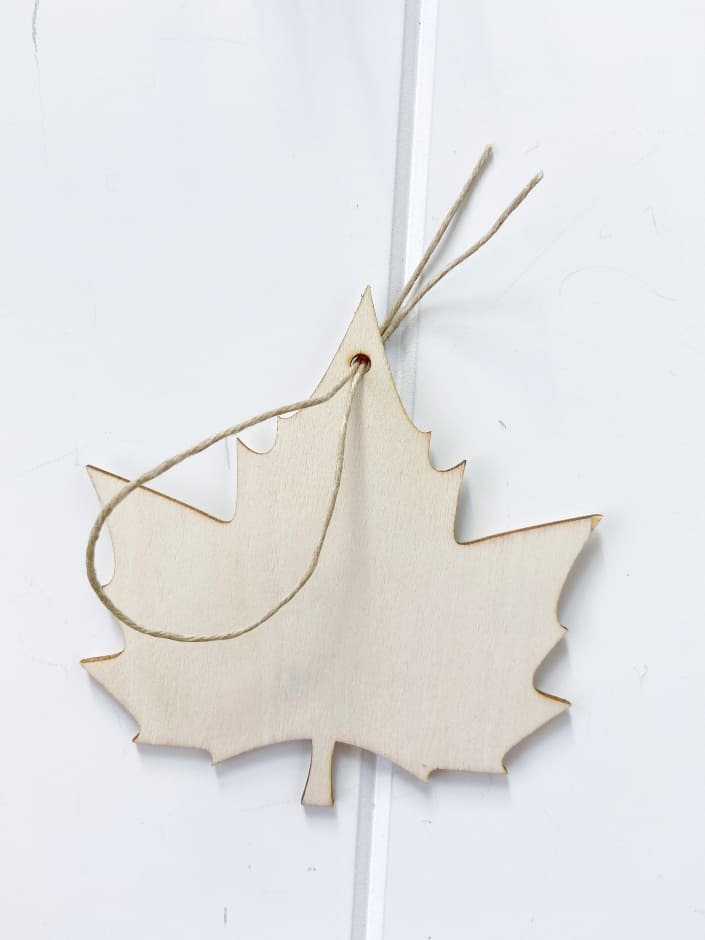
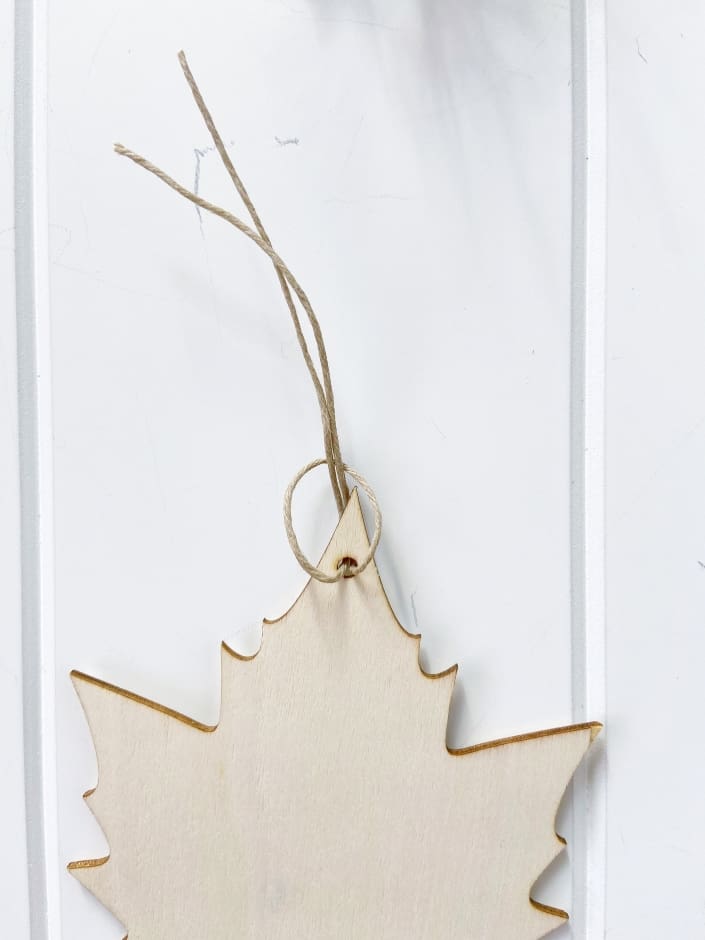
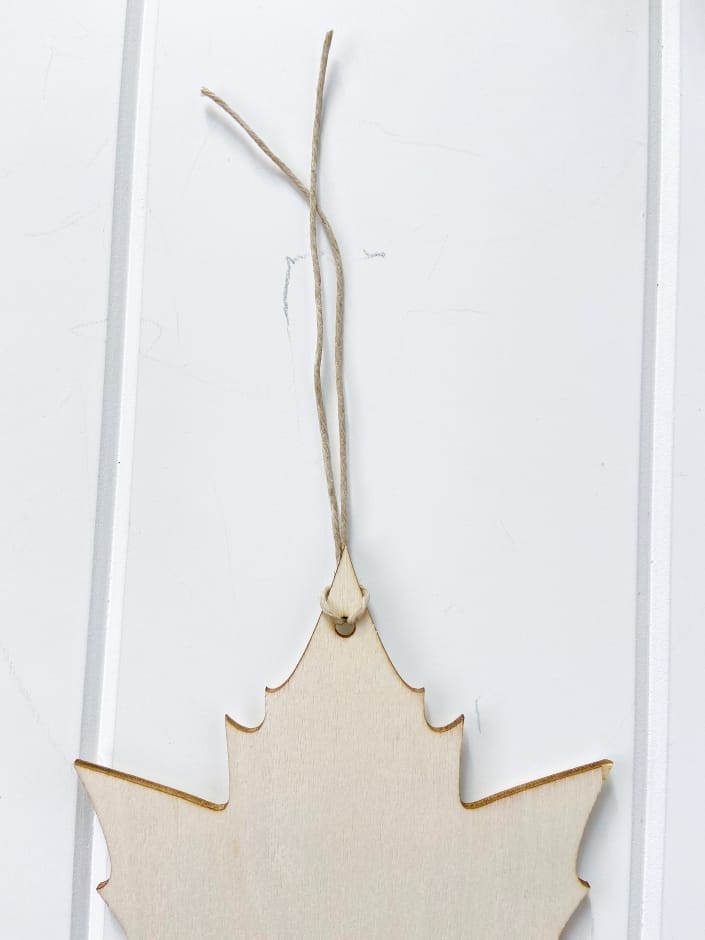
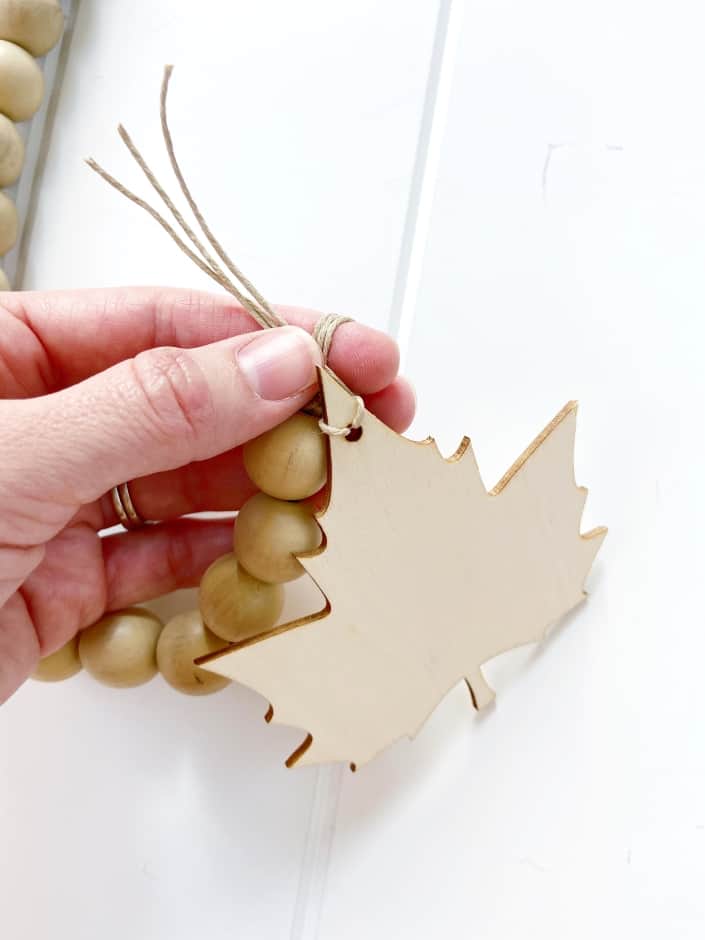
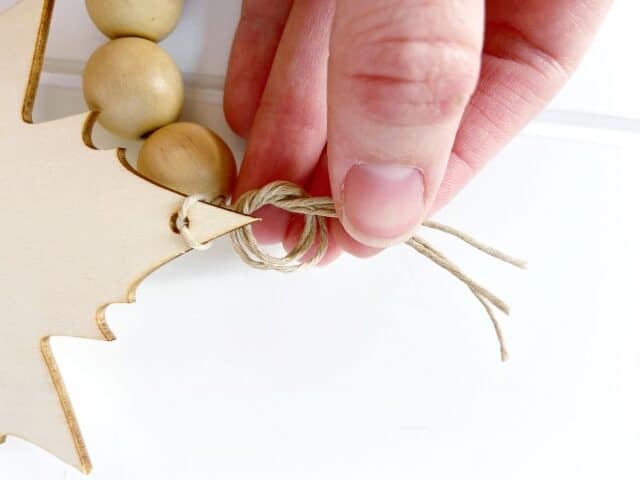
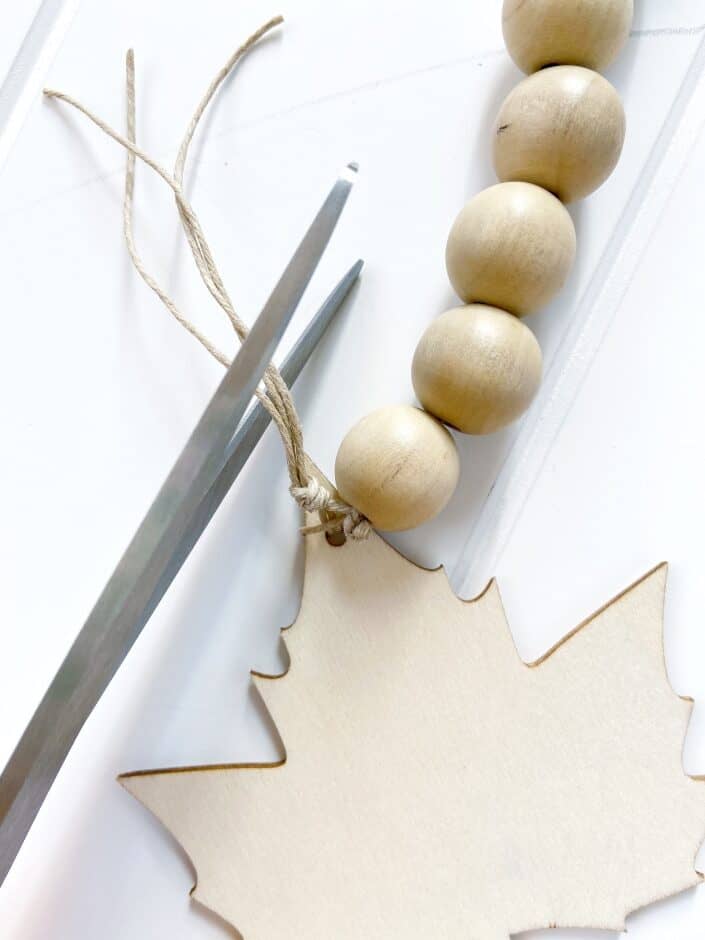
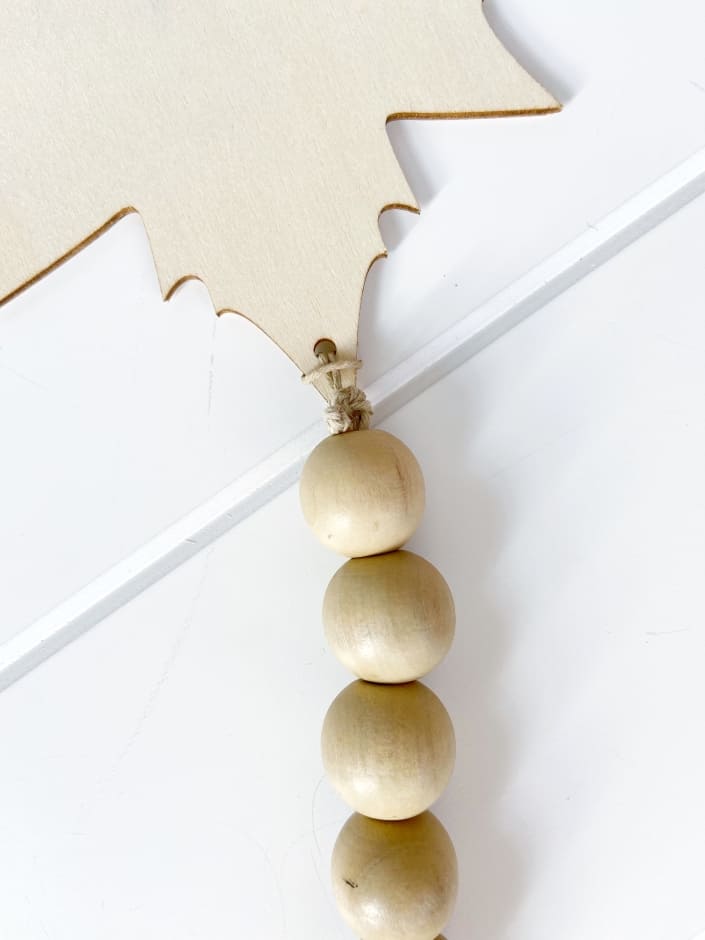
7. Attach a wooden leaf to the opposite end of your garland. Trim any excess twine.
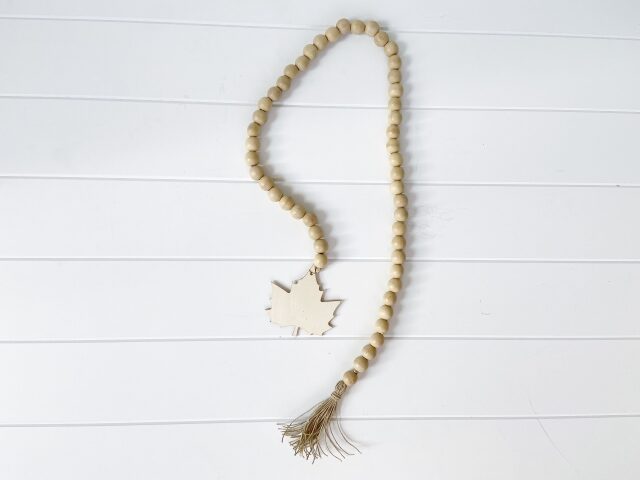
Add your DIY fall wood bead garland to your home decor!
DIY Tassel
I decided to make my own tassel, though you could easily buy one like this here.
Follow this step-by-step photo tutorial to make your own tassel.
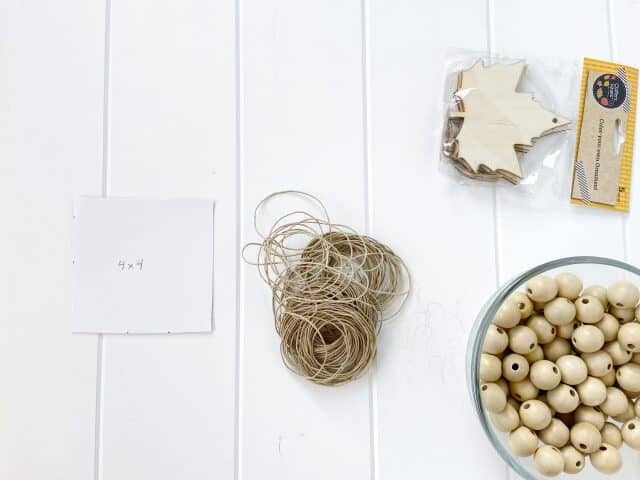
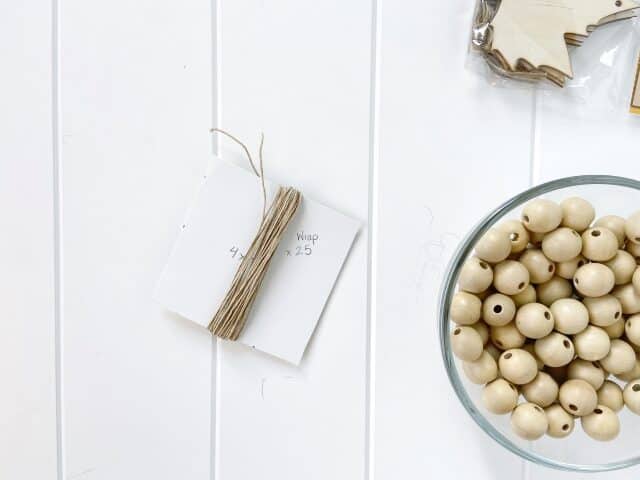
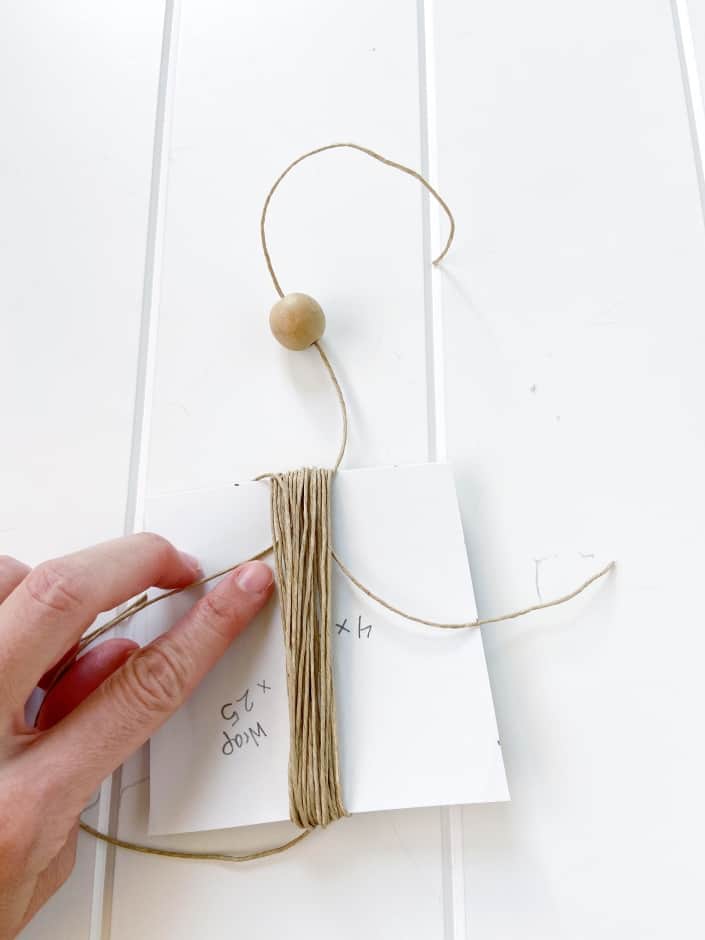
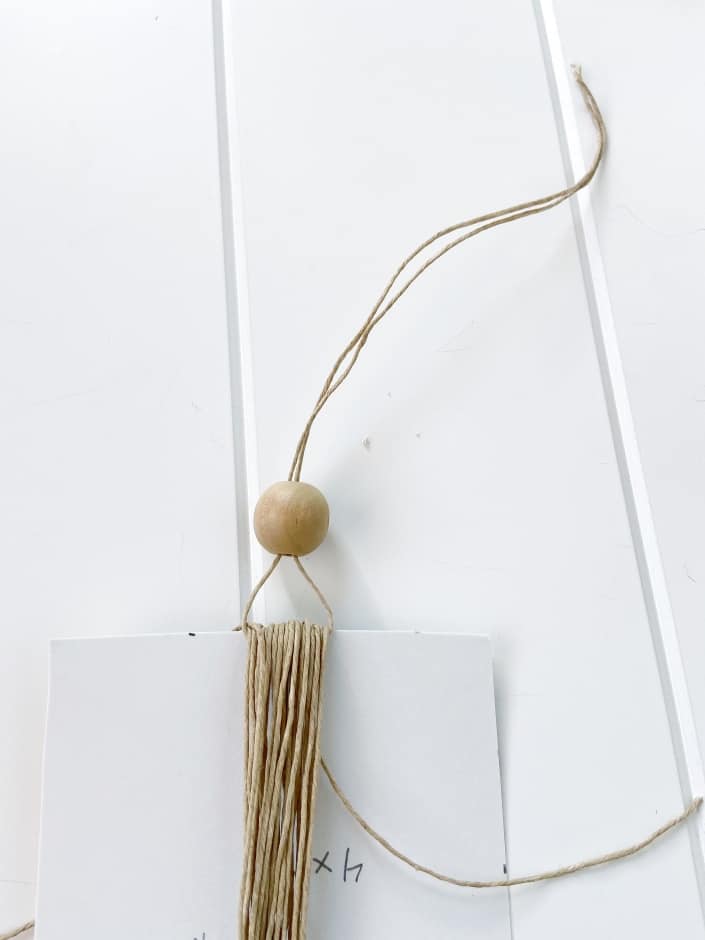
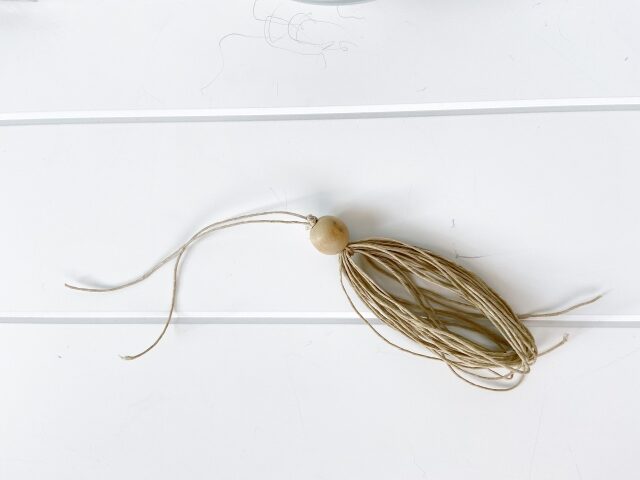
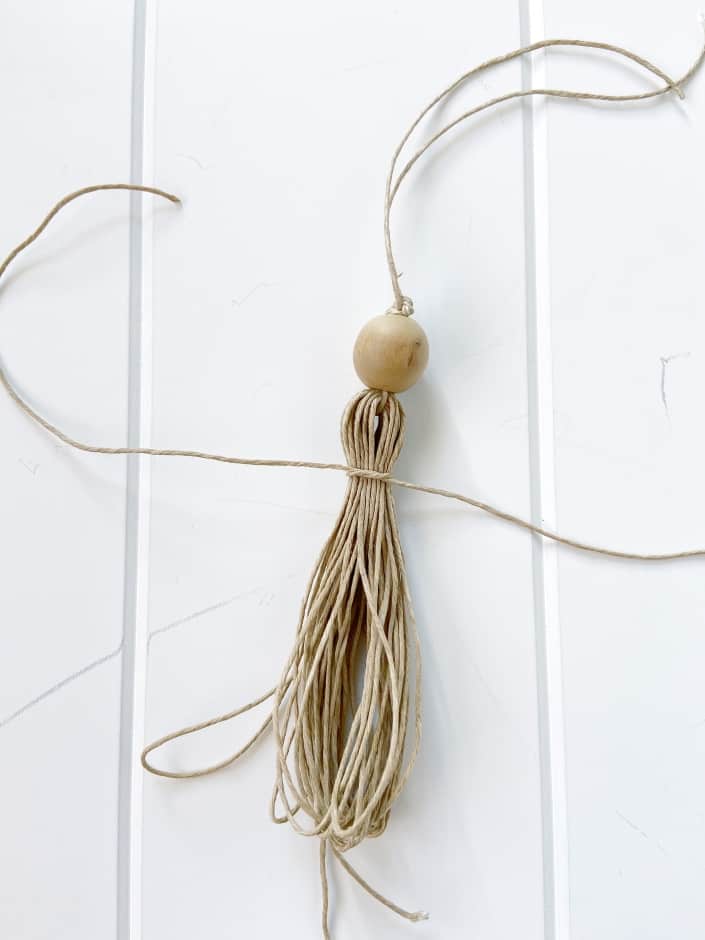
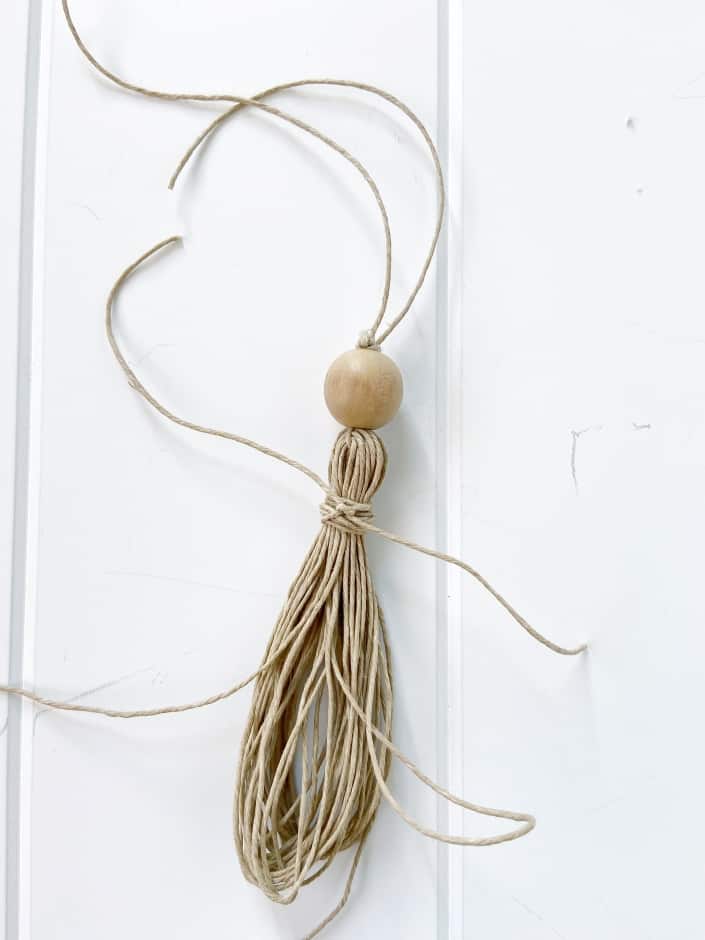
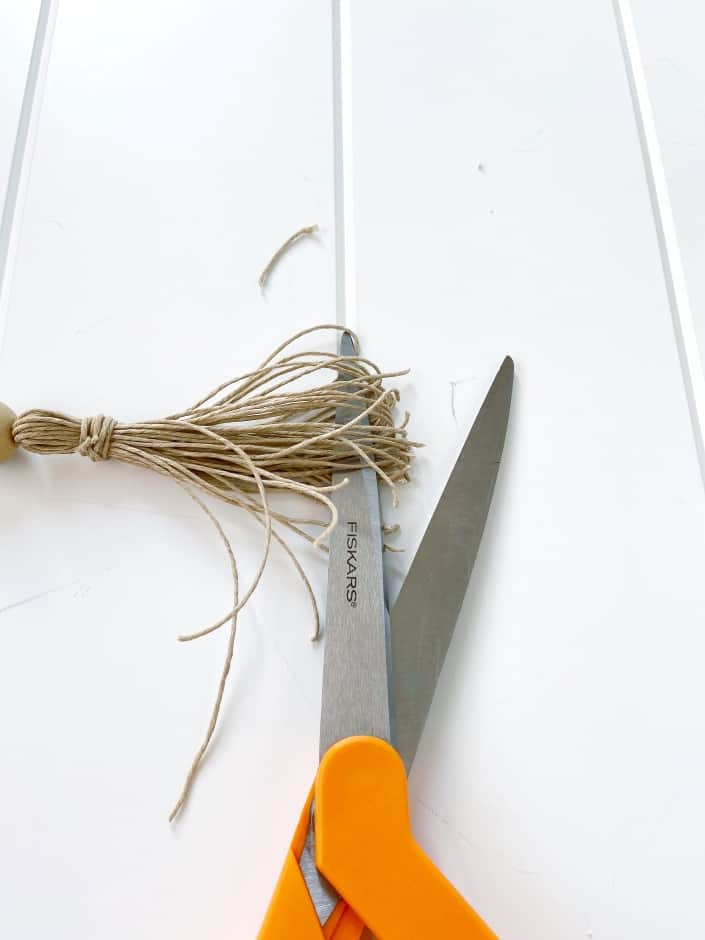
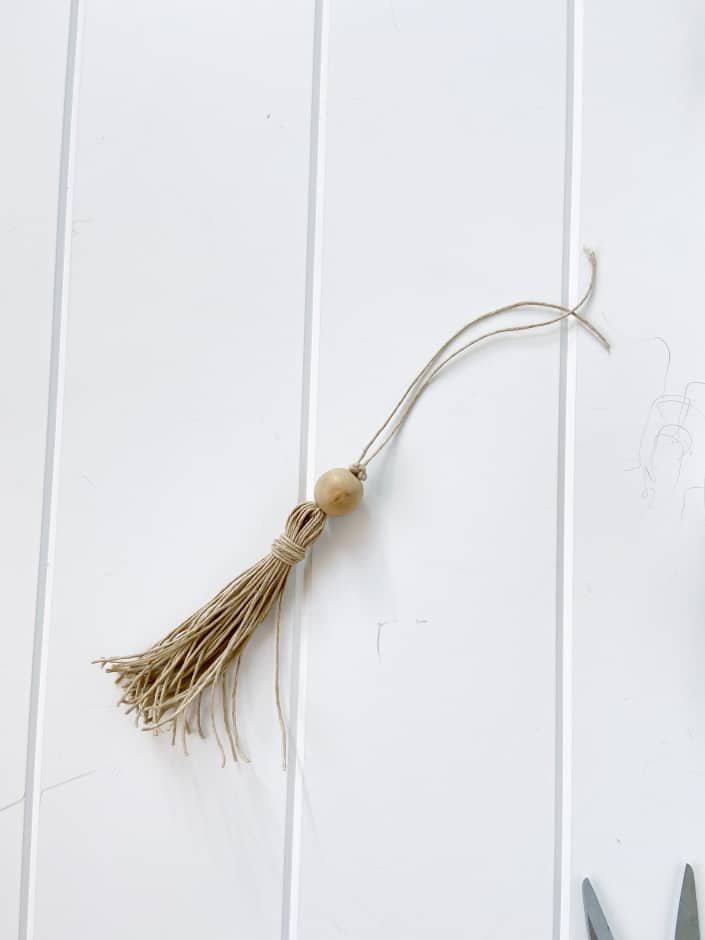
- Cut a piece of cardboard or card stock into a 4 x 4 inch square
- Wrap jute or hemp twine around square 25-30 times
- Cut an 8 inch piece of twine, string with wooden bead. Place the twine under wrapped twine on the square. (see photo)
- Thread end of 8 inch piece of twine through wooden bead so that it forms a loop around the twine on the square. Pull on 8 inch twine and secure it tightly with a knot against the wooden bead. (see photo)
- Remove piece of square cardboard
- Cut a piece of 10 inch twine and tie it around the loops of twine about ½ inch down. Wrap both ends of twine around looped twine 4 times and then secure with a knot. Cut off excess twine.
- Cut the bottom of looped twine and trim to make even.
- You can now use your DIY Tassel for your next craft project.
Have fun making this DIY fall wood bead garland and adding it to your fall home decor this season!
