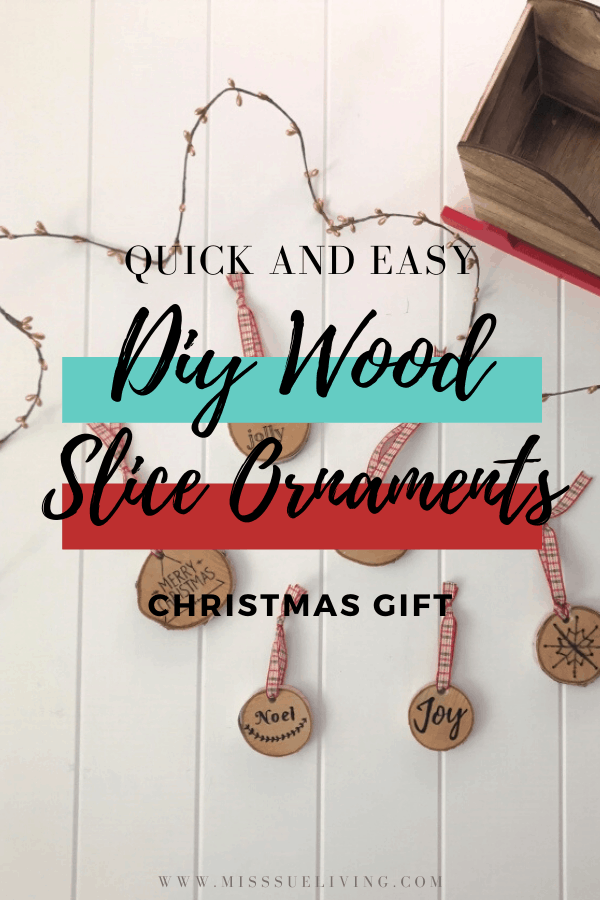
You can create a beautiful homemade ornament to give as a gift with just a few supplies. These DIY Wood Slice Ornaments will be perfect for any Christmas tree or as a stand alone gift to give friends and neighbors!

This is week two of the Christmas Blog Hop. I’ve joined 3 of my blogging friends to bring you easy DIY Christmas ideas to make your holidays merry and bright!
This weeks theme is a DIY Christmas Gift. Make sure to hop over to each ladies blog post for more gift ideas that you can make yourself.
April from Love Our Real Life
Jaclyn from Coffee, Pancakes & Dreams
Morgan from My Pear Tree Home
DIY Wood Slice Christmas Ornaments
I had originally wanted to make these DIY wood slice ornaments using a wood burning tool. After trying to burn a simple snowflake I found it to be challenging and time consuming.
So I scratched that idea and moved onto trying out a paint pen. I used a fine tip black paint pen and found this method to be very simple and uncomplicated.
Through my trial and error you now can benefit with a doable DIY gift that uses only a few supplies.
There may be affiliate links in this post! By clicking on them, or purchasing recommended items I may receive a small compensation, at no cost to you! However, I only recommend products that I absolutely love and use in my own home or would love to use! Thank you for supporting Miss Sue Living when you shop! See my disclosure policy for more info!
Materials List
- Wood slices
- Drill and bit
- Graphite paper
- Ballpoint pen
- Fine tip paint pen or fine tip black sharpie (would also look nice with dark brown)
- Ribbon or hemp twine
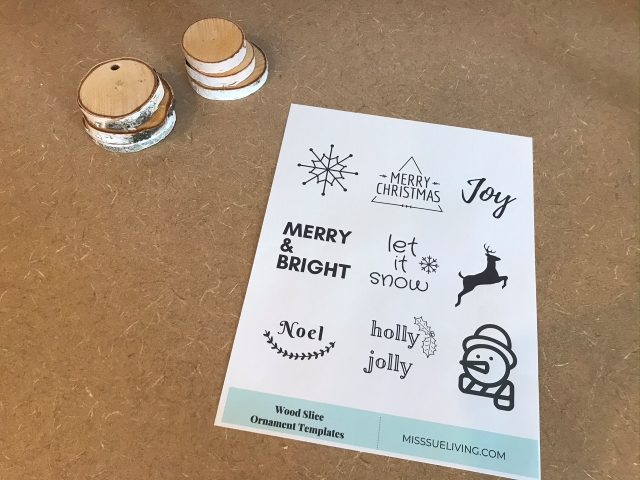
- Printable Template
Here’s How To Make Your Christmas DIY Wood Slice Ornament
For this project I used birch wood slices I found at Micheal’s. They came in a bag with 4 wood slices in varying sizes. You can also find wood slices in bulk on Amazon. Some even come pre-drilled with a hole.
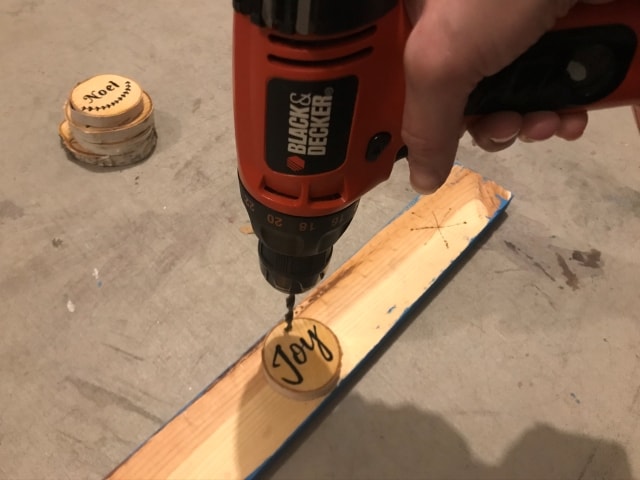
STEP 1 // The first step was drilling a hole at the top of each wood slice. I used a 15/64 inch drill bit to do the job. This size of hole will be big enough for a pretty ribbon.
STEP 2 // Next give your wood slices a quick sanding. You want a nice smooth surface to paint on. (I actually skipped this step and later realized it would have made my painting job a whole lot easier!)
STEP 3 // Make sure to brush and wipe your slices well after sanding. You will want a clean surface to make the template transfer onto.
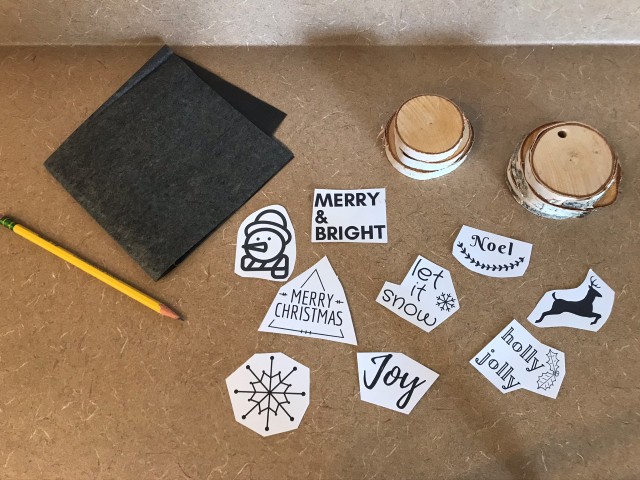
STEP 4 // Print out the DIY Wood Slice Ornament template and cut out each design. Place cut out templates on your wood slices and find the best placement for the different sizes of your wood slices.
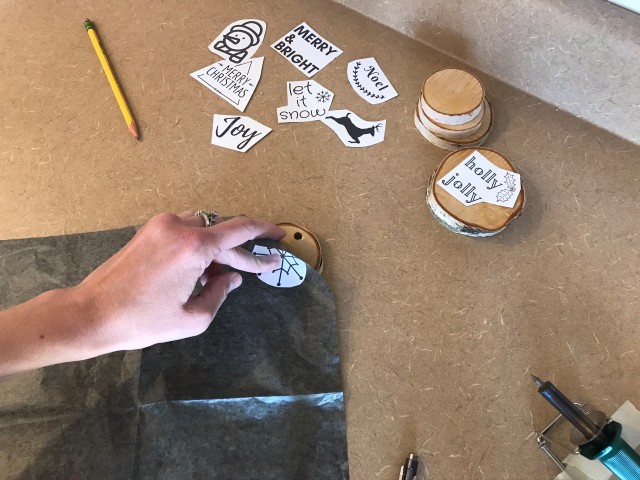
STEP 5 // It’s time to transfer the designs onto the wood. Place a piece of the graphite paper onto your wood slice. Then lay the template on top of the graphite paper. Using a ball point pen trace the outside of the template.
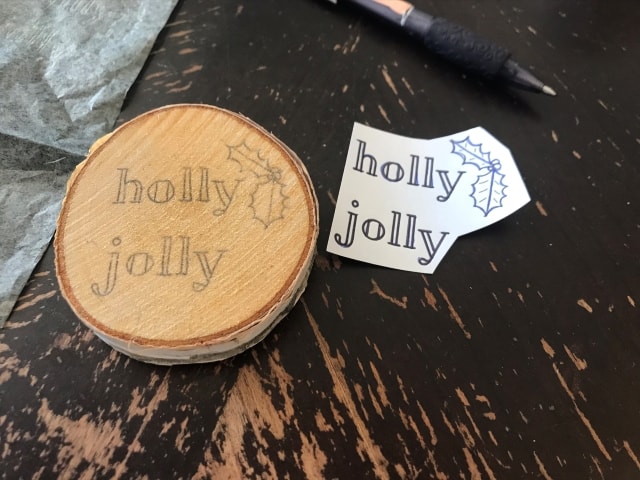
Work slowly while tracing so as not to move the template. When your done tracing the template remove it and the graphite paper.
You are now ready to paint!
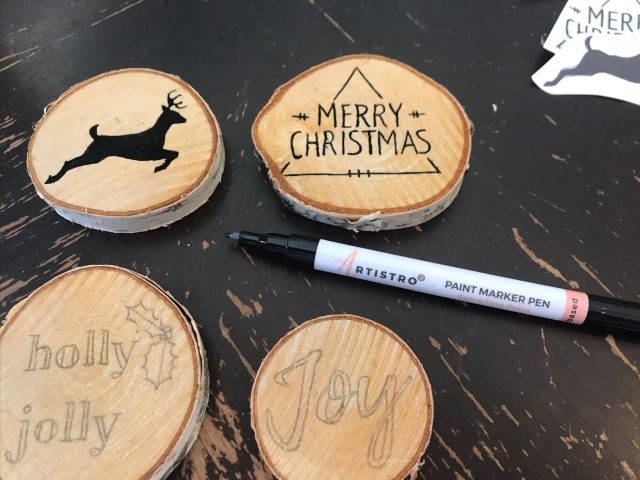
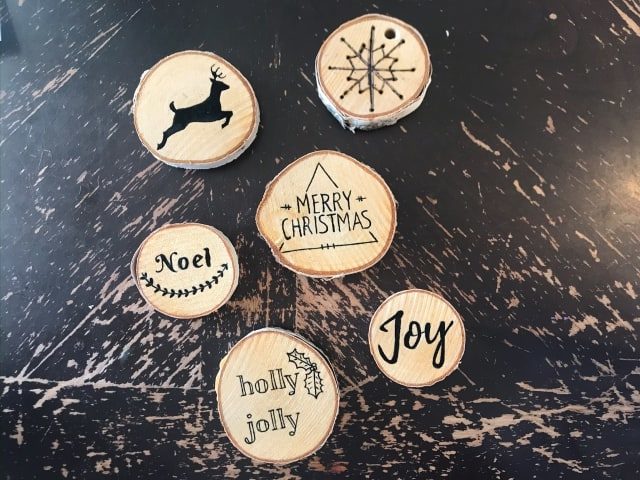
STEP 6 // Start by tracing your outline with the fine tip paint pen or sharpie marker. Then color in the fonts or designs.
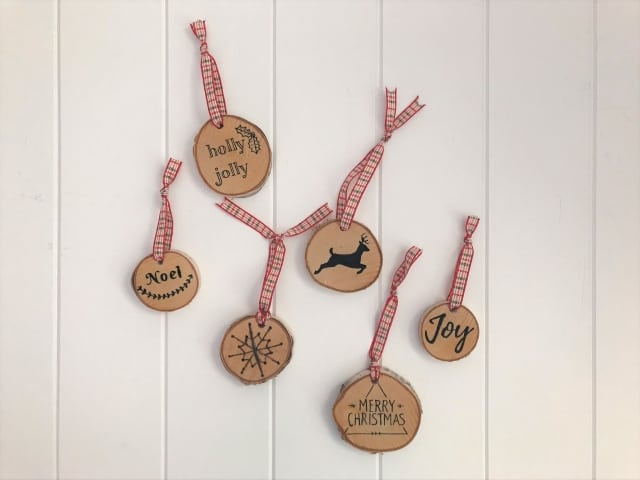
STEP 7 // Add ribbon or twine threw the pre-drilled hole on your wood slice. Tie a knot, cut off the excess and your done!
You now have beautiful handmade DIY wood slice ornaments to give as gifts. These are so cute and those receiving them will think so also!
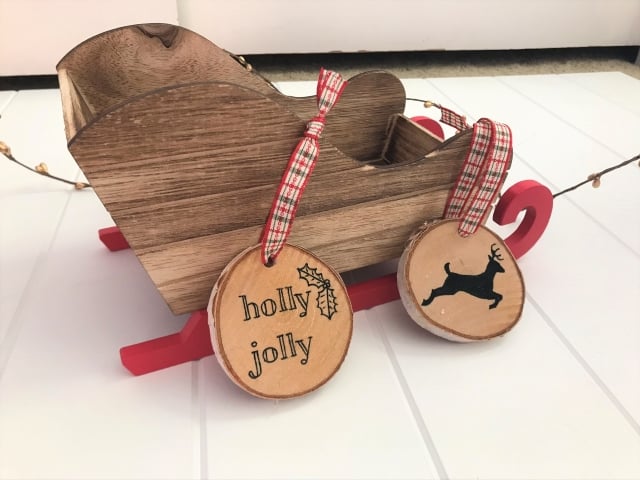
These can also be a great embellishment to add to the top of a gift – like a gift tag – which makes your gift even more special.
Want More DIY Christmas Gift Ideas?
Check out what my blogging friends are making!
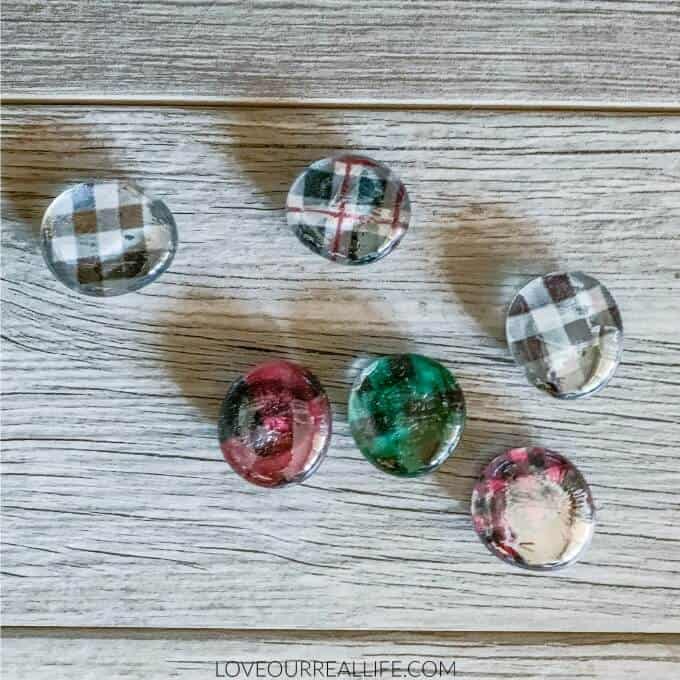
- April from Love Our Real Life- Glass Pebble Magnets: Fun Personalized Homemade DIY
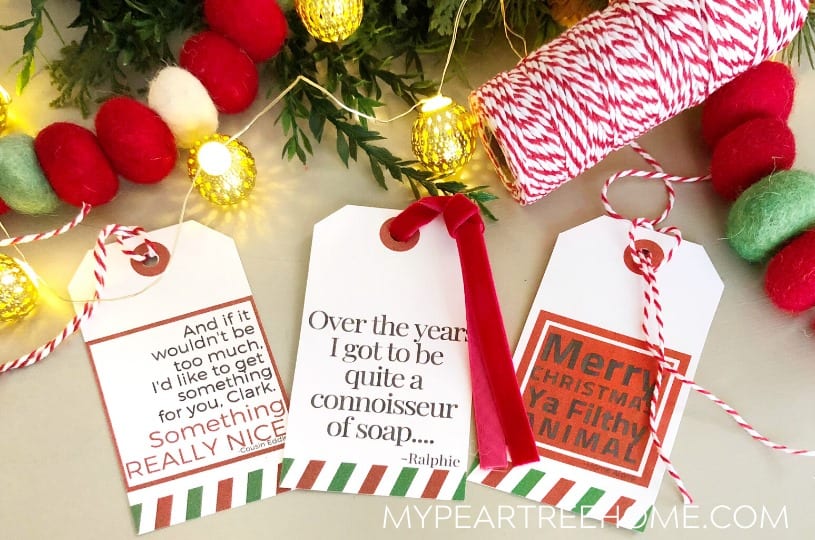
- Morgan from My Pear Tree Home- Christmas Movie Quote Gift Tag Printable: You Serious Clark?
- Jaclyn from Coffee, Pancakes & Dreams- 5 DIY Dollar Store Christmas Gift Ideas
