Fall is my favorite season. Growing up in the Pacific Northwest you could feel and see the changing seasons. The morning air was crisp and the trees displayed beautiful fall foliage.
When my husband and I were planning our wedding we originally set an October wedding date. We wanted to incorporate the fall season into our wedding theme. On our honeymoon we were planning to visit Maine. I’ve always wanted to visit Maine in the fall and see the beautiful changing trees and landscape.
Well, when two people are in love you can only wait so long for your wedding day! We moved our date up to June and the rest is history.
My love of the fall season hasn’t changed and living in the desert takes me far from those fall leaves and crisp air. So, I like to bring a touch of the fall season into my home (And someday, I’d like to visit Maine in autumn 🙂 ).
Adding a touch of the season to your home does not require a home renovation. You can add fall decor to your space and incorporate the changing season easily.
Create a welcoming front entry
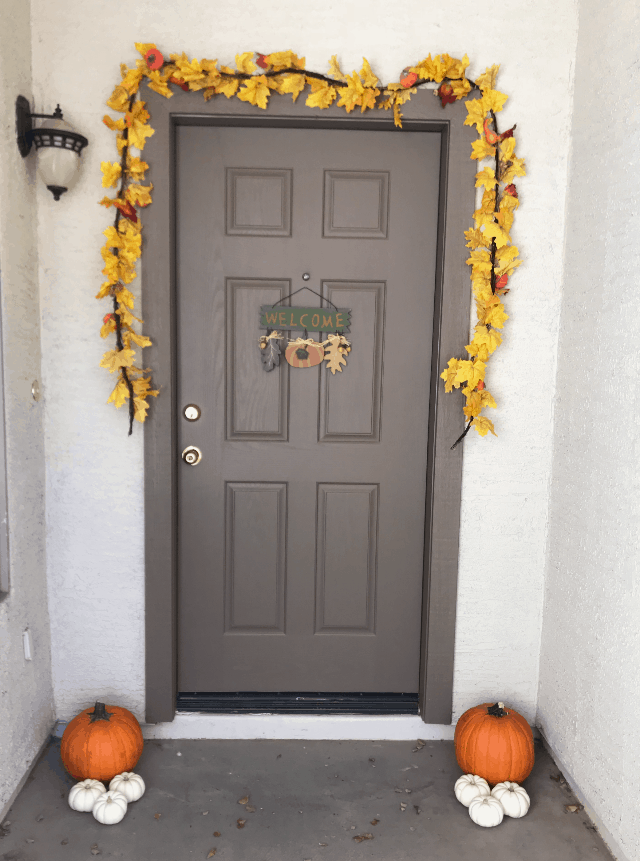
The entry is a perfect space to decorate for fall. Place a fall wreath on your door or add some fall garland around your front door. Add a welcome sign and a few real pumpkins to usher in your guests.
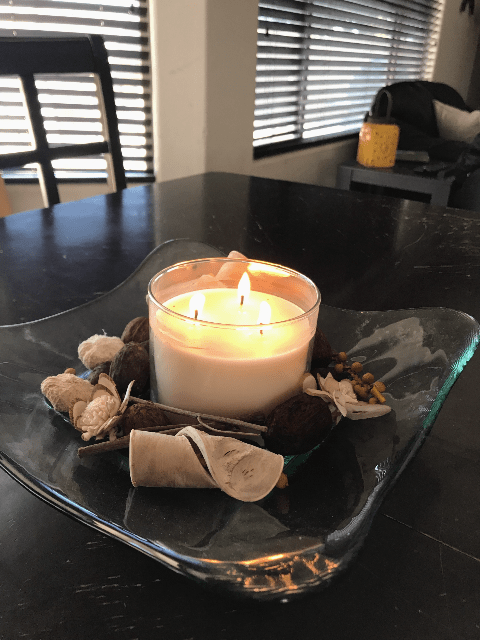
Burn a fall scented candle
Burning a fall scented candle is a super simple way to bring the season into your home. There are so many choices of fall scents. I have a Bath and Body Works Pumpkin Cupcake scented candle in my entryway. When guests enter my home they will be greeted with a fall scented welcome.
 Add a fall throw pillow
Add a touch of fall to your living room space with a fall throw pillow. I bought this pretty “Give Thanks” pillow at Marshalls. To update throw pillows you already own, give them a fall face lift with this easy “no sew” pillow cover.
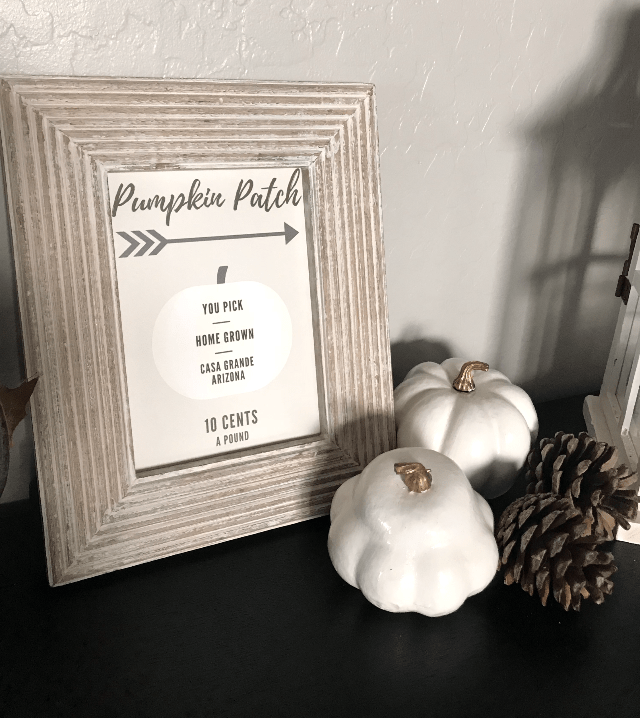
Print fall art
Printing art from home is a low cost way to update a picture frame for the season. I created a fall art print using Canva to add to my entry table. It was a fun and quick project. By creating it myself I was able to incorporate a personal touch to the fall art print. If you would rather not create your own art print, check out this free fall art print from Jones Design Company. There are two free fall art prints to choose from.
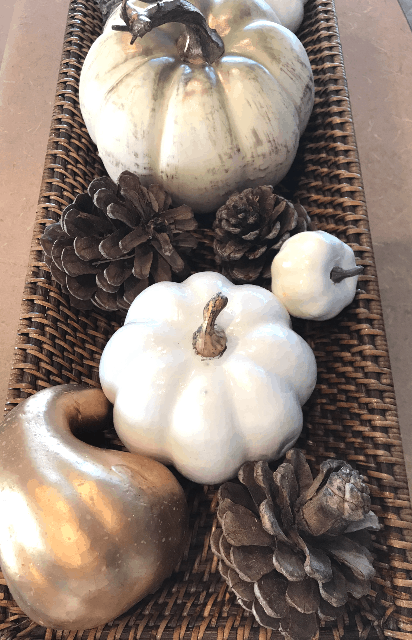
Pumpkins, pumpkins, pumpkins
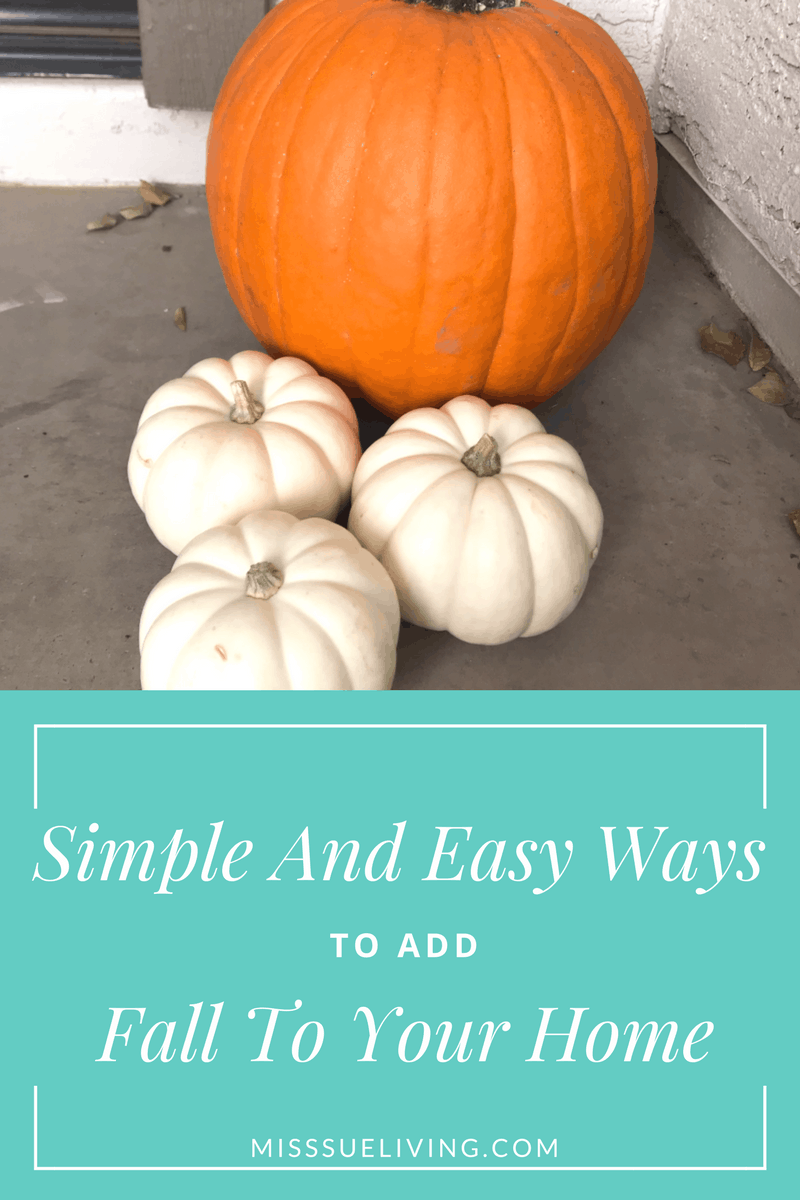
Muted greens and a white color pallet is a new trend for fall decorating this year. Most of my fall décor was red and orange. I had quite a few faux orange pumpkins. I didn’t want to just trash these pumpkins and buy new. Chalk paint came to the rescue!
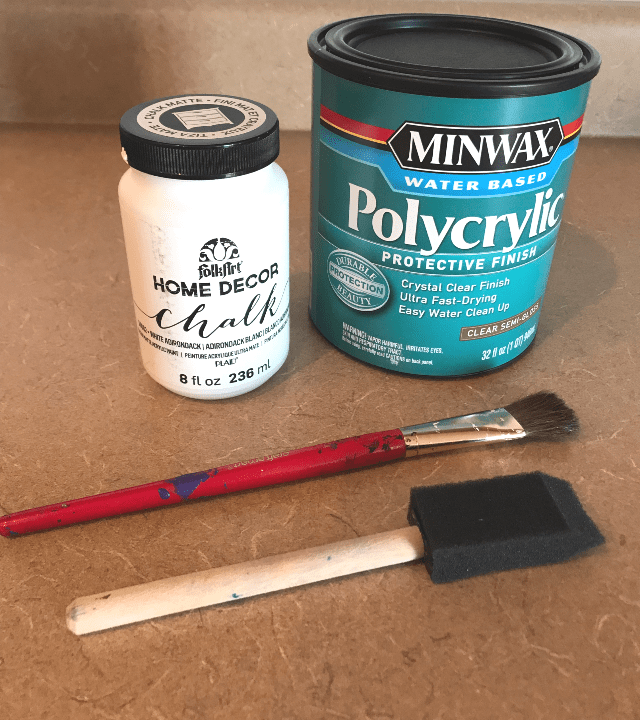
I bought white chalk paint and polycrylic water based wax sealer for this DIY Chalk Paint Pumpkin project.
DIY Chalk Paint Pumpkin
(This post contains affiliate links. See my disclosure policy here.)
Supplies Needed
- White chalk paint
- Minwax water based polycrylic protective finish
- paint brush and/or foam brush
Steps
- First I covered the stems with painters tape.
- Then I wiped down the pumpkins to remove the dust from last year 😉
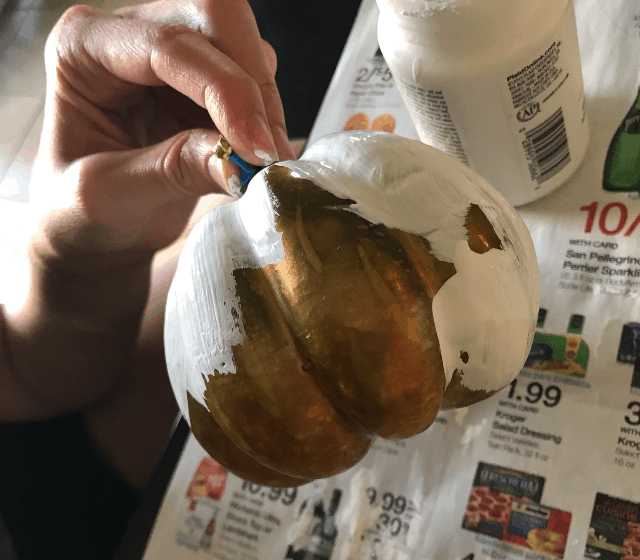
- Next I used a foam brush and a bristle brush to add one coat of chalk paint to the pumpkins. Let dry completely (about 2 hours)
- Apply a second coat of chalk paint. Let dry completely (about 2 hours) If needed repeat a third time.
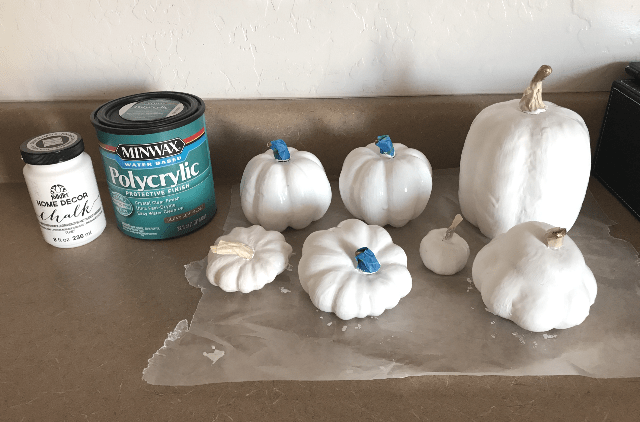
- Brush on one coat of polycrylic water based wax sealer. Let dry for 24 hours.
- Remove painters tape from stems.
- Add white pumpkins to your fall home decor!
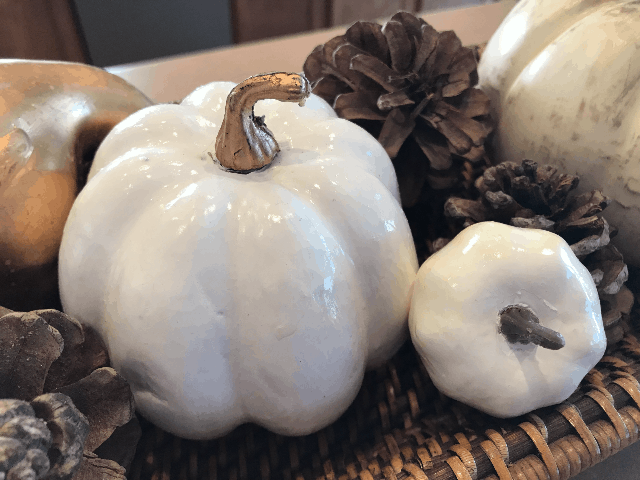
I hope you enjoy these simple and easy fall home decorating ideas! Be sure to pin this DIY Chalk Paint Pumpkin project for later.
Like simple decor ideas? Check out these posts:
